

Introduction
Did you know that the average bride spends between $300 and $750 on dress alterations alone, with some complex modifications reaching upwards of $1,500? If that number just made your jaw drop, you’re not alone. When I first started helping brides prepare for their big day over a decade ago, one of the most common surprises was discovering that purchasing the gown was only half the financial equation.
Understanding wedding dress tailoring cost is absolutely essential before you fall head over heels for that dreamy designer creation in the boutique window. Trust me, I’ve seen countless brides experience “alteration sticker shock” after already stretching their budget for the dress itself.
Here’s the thing – your wedding gown is arguably the most photographed garment you’ll ever wear. Those images will grace your walls, fill albums, and populate social media feeds for decades. A perfectly fitted dress doesn’t just look better; it feels better. You’ll move more confidently, dance more freely, and genuinely enjoy your special day rather than tugging at ill-fitting fabric.
But here’s the good news: with the right knowledge and strategic planning, you can achieve that flawless fit without depleting your entire wedding fund. I’ve spent years learning the insider secrets of bridal alterations, and today, I’m sharing everything with you. Whether you’re working with a couture creation or a budget-friendly find, these seven money-saving strategies will help you navigate the world of wedding dress alterations like a pro.
Wardrobe Essentials List: Understanding Your Bridal Alteration Needs
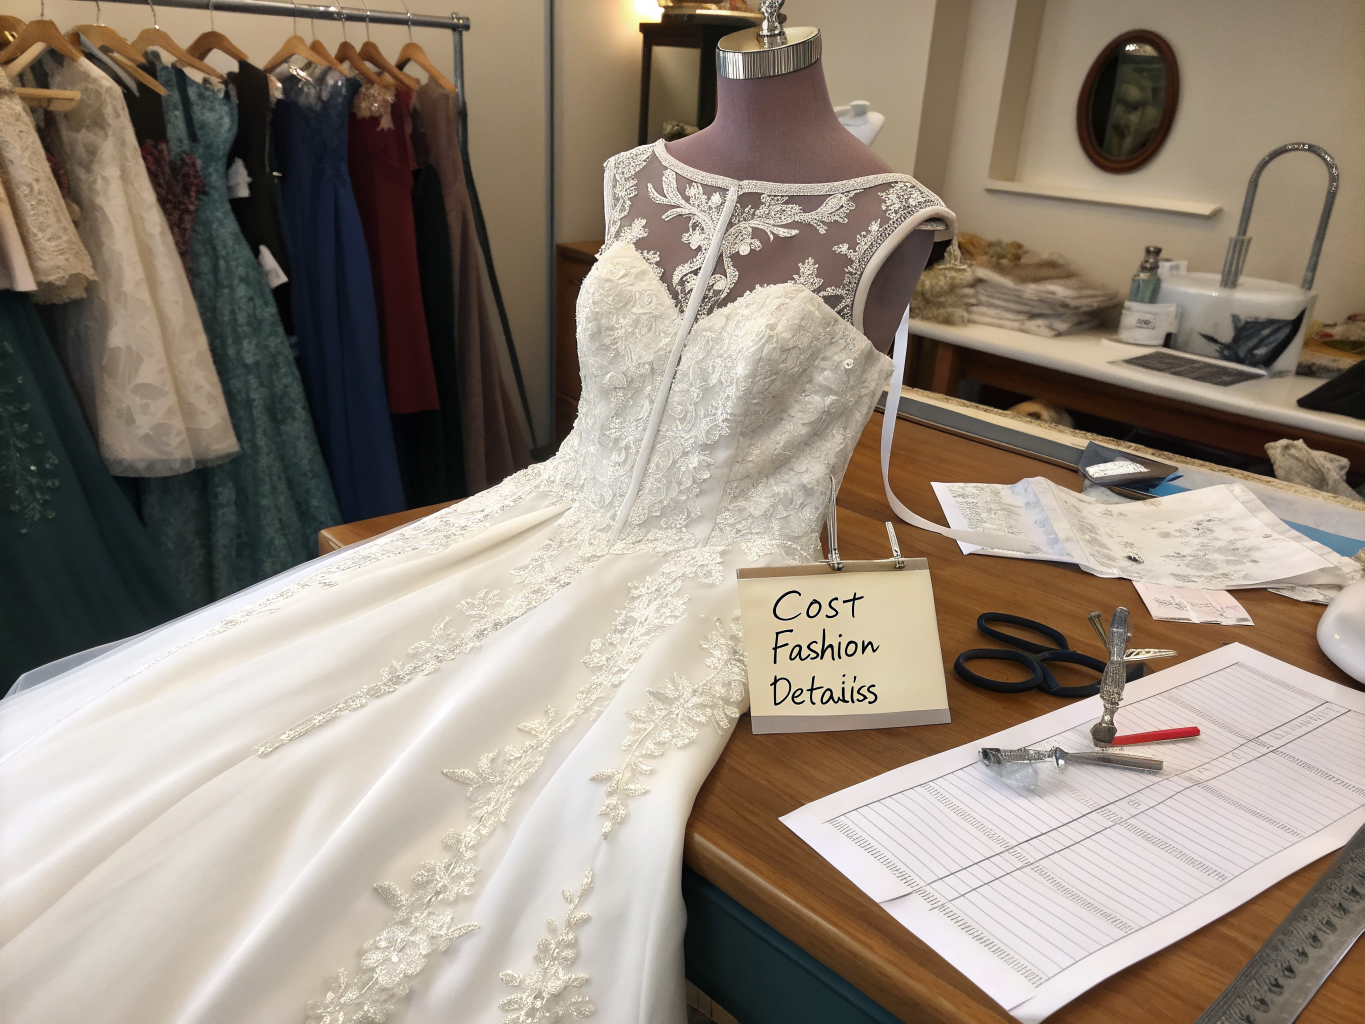
Before diving into cost-saving strategies, let’s break down the essential alterations most brides need and their typical price ranges:
Hemming (The Foundation)
- Simple hem: $100-$250
- Multi-layer or lace hem: $200-$500
- Swap suggestion: Consider tea-length or midi styles that may require less hemming
Bodice Adjustments (The Heart of Fit)
- Taking in sides: $50-$150
- Bust adjustments: $75-$200
- Adding boning or cups: $50-$100
- Texture note: Structured fabrics like mikado hold alterations beautifully and often require less reinforcement
Bustle Creation (The Movement Maker)
- Simple bustle: $50-$100
- French bustle: $75-$150
- Multi-point bustle: $100-$250
- Feeling factor: A well-constructed bustle means you’ll actually dance at your reception rather than tripping over train fabric
Strap and Neckline Modifications
- Shortening straps: $30-$50
- Adding straps: $75-$200
- Neckline reshaping: $150-$400
Zipper and Back Alterations
- Zipper replacement: $50-$100
- Adding corset back: $150-$350
- Creating keyhole detail: $100-$250
According to recent bridal industry surveys, 96% of brides require at least one alteration, with the average bride needing three to five separate modifications. Understanding this upfront helps you budget realistically and avoid unpleasant surprises.
Styling Time: Planning Your Alteration Timeline
The timing of your alterations isn’t just about logistics – it directly impacts your wallet. Here’s a realistic breakdown of the alteration journey:
Initial Consultation and Measurements: 45-60 minutes
This first appointment is crucial. Your tailor will assess every aspect of fit, from how the bodice sits against your skin to how the train pools on the floor.
First Fitting: 60-90 minutes
Approximately 6-8 weeks before your wedding, the major structural work begins. Expect pinning, marking, and detailed discussions about adjustments.
Second Fitting: 45-60 minutes
About 2-4 weeks out, you’ll see the transformative results and fine-tune remaining details.
Final Fitting: 30-45 minutes
One to two weeks before your wedding day, this appointment ensures everything is picture-perfect.
Real-life comparison: When I helped my best friend navigate her alterations, we started the process four months before her wedding. This timeline gave us flexibility to shop around for the best tailor and avoided rush fees that can add 30-50% to your total wedding dress alterations cost.
Data insight: Brides who begin alterations at least three months before their wedding date save an average of $200-$400 compared to those who start within six weeks, primarily by avoiding rush charges and having time to get competitive quotes.
Step-by-Step Styling Guide: 7 Strategies to Reduce Your Wedding Dress Tailoring Cost
Step 1: Choose Your Dress Wisely from the Start
The smartest way to minimize alteration expenses begins before you even purchase your gown. Here’s my insider approach:
Consider your true size: Order the size closest to your largest measurement. It’s always easier (and cheaper) to take fabric in than to let it out.
Examine construction complexity: Gowns with intricate beading, multiple layers, or hand-applied lace will cost significantly more to alter. A sleek crepe sheath, while stunning, alters more affordably than a heavily embellished ball gown.
Stylist trick: When trying on dresses, ask the consultant to pin the sample to your body. This gives you a realistic preview of how many alterations you’ll actually need.
Step 2: Get Multiple Quotes Before Committing
Never accept the first alteration quote without exploring options. Here’s how to compare effectively:
Visit at least three tailors: Include your bridal boutique’s in-house seamstress, an independent bridal specialist, and a highly-rated local tailor.
Ask for itemized estimates: Vague quotes like “alterations will run about $500” aren’t helpful. Request specific pricing for each modification.
Bring your dress or detailed photos: Accurate quotes require seeing the actual garment or very detailed images of construction, fabric, and embellishments.
Pro insight: Independent tailors often charge 20-40% less than bridal boutique in-house services. However, ensure they have specific bridal experience – wedding gown construction differs significantly from everyday garment alterations.
Step 3: Time Your Weight Goals Strategically
I know this topic can feel sensitive, but it’s financially relevant. Many brides plan to lose weight before their wedding, but fluctuating sizes create alteration complications.
The smart approach: If you’re planning body changes, work with your tailor to time alterations appropriately. Major structural work should happen after you’ve reached a stable size.
Avoid this costly mistake: Losing significant weight between fittings often means starting alterations over or adding extensive taking-in work, potentially doubling your costs.
Data point: According to bridal seamstresses, weight-related re-alterations add an average of $150-$300 to the final bill.
Step 4: Skip Unnecessary Alterations
Not every suggested modification is essential. Here’s how to distinguish must-haves from nice-to-haves:
Essential alterations:
- Hemming for safety and silhouette
- Bodice fit for comfort and appearance
- Bustle for mobility
Often optional:
- Adding cap sleeves (consider detachable options instead)
- Extensive beading modifications
- Replacing buttons with covered versions
Stylist hack: During your consultation, ask your tailor to rank alterations by necessity. Focus your budget on structural modifications that affect fit and comfort, then add aesthetic changes only if funds allow.
Step 5: Consider DIY for Simple Modifications
Certain alterations genuinely don’t require professional intervention:
Safe DIY projects:
- Steaming wrinkles
- Attaching dress loops
- Sewing in dress weights
- Minor spot cleaning
Approach with caution:
- Hemming (only if you have sewing experience)
- Adding simple hook-and-eye closures
- Tacking embellishments
Leave to professionals:
- Structural bodice work
- Bustle creation
- Taking in seams
- Lace or beading modifications
I once watched a bride’s mother successfully save $75 by sewing in dress weights and attaching wrist loops herself. Simple skills can translate to real savings.
Step 6: Negotiate and Bundle Services
Many brides don’t realize alteration pricing can be flexible:
Ask about package deals: Some tailors offer discounts when you commit to all alterations at once rather than adding modifications fitting-by-fitting.
Inquire about referral discounts: Bringing other members of your bridal party for alterations can sometimes earn you a percentage off.
Request price matching: If you receive a lower quote elsewhere, ask if your preferred tailor can match or come closer to that price.
Timing tip: Tailors are often more flexible on pricing during their slower seasons (typically January-March and September-November).
Step 7: Rent or Borrow Accessories Instead of Altering
Sometimes the most creative savings come from side-stepping alterations altogether:
Instead of shortening straps: Borrow or rent a beautiful bridal belt that creates the illusion of adjusted proportions.
Instead of adding sleeves: Use a gorgeous bridal jacket or cape that can be removed for reception dancing.
Instead of extensive neckline work: Consider strategic jewelry placement that draws the eye to your best features.
These workarounds save money while adding versatile styling options to your bridal look.
Fashion Fit & Comfort Insights
Understanding fabric behavior helps you anticipate alteration needs and ensure long-wearing comfort:
Silk and Silk Alternatives
Luxurious against the skin, silk requires careful handling during alterations. Expect higher costs for silk modification, but the breathability payoff is worth it – silk allows approximately 30% more air circulation than polyester alternatives.
Crepe and Stretch Crepe
This contemporary favorite drapes beautifully and often requires fewer alterations to achieve a flattering fit. The slight stretch in modern crepe blends provides comfort without sacrificing elegance.
Tulle and Organza
These airy fabrics create romantic silhouettes but can be time-consuming to hem due to their delicate nature. Multiple tulle layers multiply both labor and cost.
Lace
The queen of alteration challenges. Matching lace patterns during modifications requires expertise and patience. If your gown features extensive lace, budget accordingly.
Personal note: I once wore a sample gown made entirely of silk mikado for a styled photoshoot on an August afternoon. Despite the heat, the natural fiber kept me remarkably comfortable. When advising brides, I always emphasize that fabric choice affects not just appearance but all-day wearability.
Sustainable & Affordable Alternatives
Eco-conscious brides can reduce both environmental impact and wedding dress tailoring cost:
Consider Pre-Owned Gowns
Platforms like Stillwhite and Nearly Newlywed offer designer gowns at 50-70% off retail. Many are unaltered samples, giving you flexibility in fit customization.
Explore Vintage Options
Vintage gowns often feature superior construction that actually makes alterations easier. The higher-quality fabrics hold modifications better than some contemporary alternatives.
Choose Sustainable Brands
Companies like Reformation Bridal, Christy Dawn, and Leanne Marshall create beautiful gowns using eco-friendly practices. Their simpler constructions often require fewer alterations.
Creative Budget Ideas:
- Repurpose a family gown (professional cleaning and modernizing typically costs less than a new dress plus alterations)
- Consider separates (a bridal skirt and top combination offers more fit flexibility)
- Look at “white bridesmaid” dresses from sustainable brands
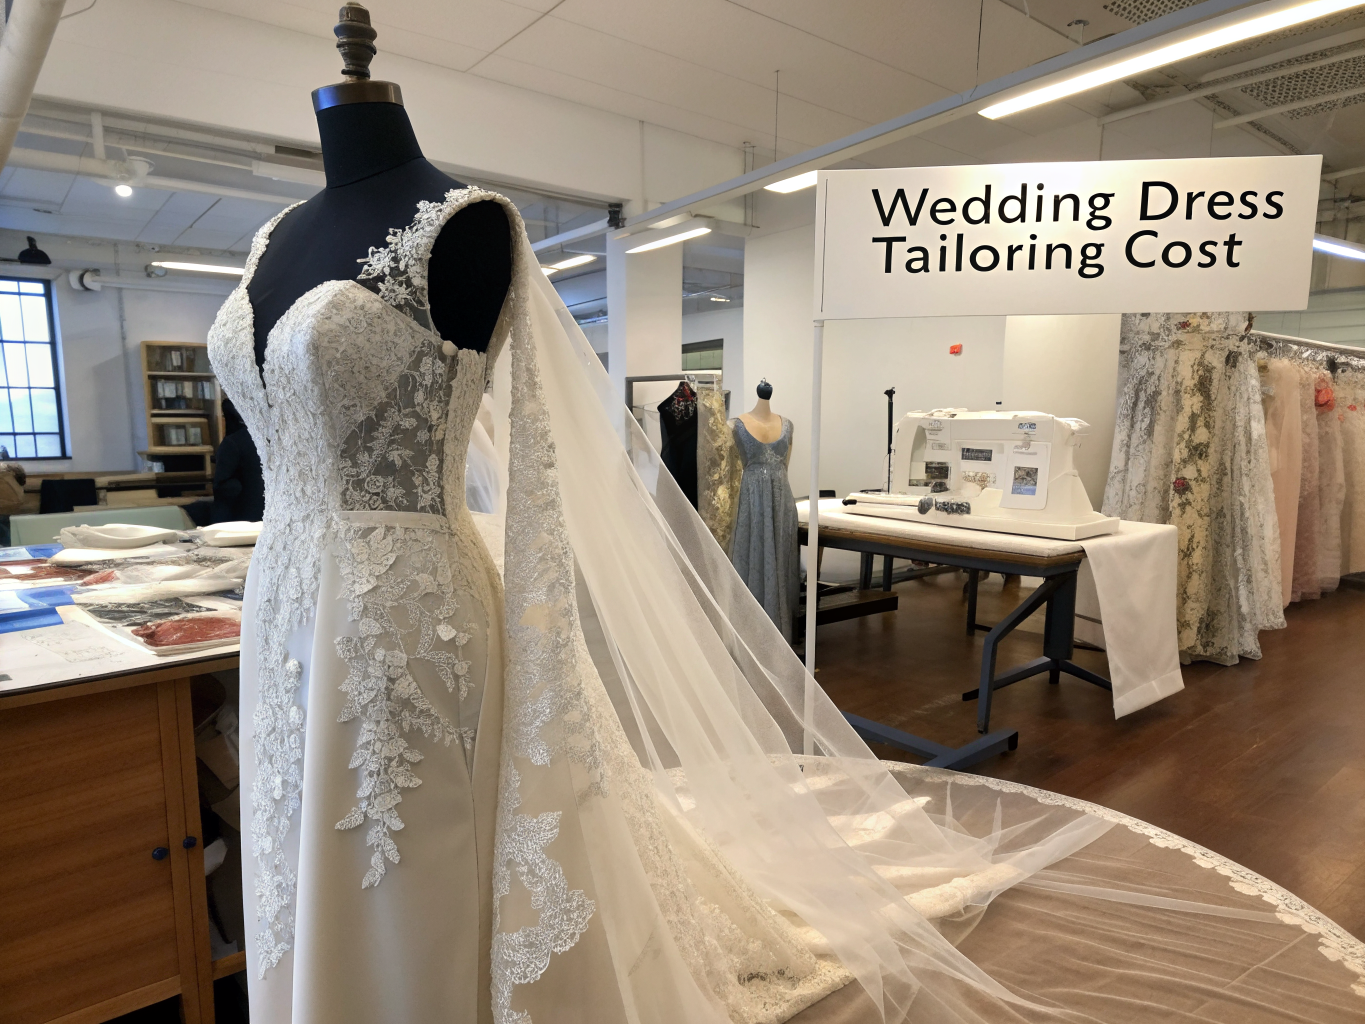
Outfit Pairing Suggestions: Completing Your Bridal Look
Your dress alterations should consider your complete wedding day ensemble:
Spring/Summer Weddings
- Pair fitted bodices with lighter underlayers to reduce heat
- Consider open-back modifications for breathability
- Shorter hems for outdoor venues prevent grass stains and easier movement
Fall/Winter Weddings
- Long sleeves eliminate the need for cover-ups
- Fuller skirts accommodate comfortable undergarments
- Heavier fabrics benefit from structured alterations
Petite Brides: Higher hemlines and empire waist adjustments elongate your silhouette. Avoid overwhelming volume that can swallow smaller frames.
Tall Brides: Embrace dramatic trains and elongated bodice proportions. Ensure alterations maintain proportional balance.
Curvy Brides: Focus alterations on highlighting your natural waistline. Well-fitted bodices and strategic seaming create stunning hourglass definition.
Common Style Mistakes to Avoid
Over-altering Before Weight Stabilization
As mentioned earlier, starting structural alterations too early often leads to expensive re-work. Wait until two to three months before your wedding for major modifications.
Choosing the Wrong Seamstress
A brilliant formal wear tailor isn’t automatically qualified for bridal work. Wedding gown construction involves unique techniques, fabrics, and hardware. Always verify bridal-specific experience.
Ignoring Undergarment Planning
Your alterations fitting should include the exact bra, shapewear, and shoes you’ll wear on your wedding day. Different undergarments change how fabric lays and seams hit, potentially requiring adjustment.
Forgetting Movement Testing
During fittings, don’t just stand still! Practice sitting, walking, hugging, and dancing. Alterations should accommodate real-life movement, not just static posing.
Skipping Final Fitting
Even if your second fitting looked perfect, body fluctuations happen. That final check ensures your gown is truly ready for your big day.
Clothing Care & Storage Tips
Protecting your investment before and after the wedding matters:
Pre-Wedding Storage
- Hang your gown on a padded hanger to prevent shoulder marks
- Use a breathable garment bag (cotton, not plastic)
- Store away from direct sunlight to prevent fabric yellowing
- Keep in a temperature-controlled environment
Day-Of Prep
- Steam rather than iron – most bridal fabrics respond poorly to direct heat
- Bring a small steamer to your getting-ready location for last-minute wrinkle release
- Have a “emergency kit” with fabric tape, clear nail polish (for snag prevention), and baby wipes
Post-Wedding Preservation
- Have your gown professionally cleaned within days of your wedding
- Consider professional preservation if you hope to pass down your dress
- Document any stains before cleaning to guide treatment
Pro tip: I keep a small spray bottle of diluted vodka (yes, really!) for freshening fabrics between fittings. It evaporates completely without leaving residue.
Conclusion
Navigating wedding dress tailoring cost doesn’t have to be overwhelming or budget-breaking. By choosing your gown strategically, getting multiple quotes, timing your alterations wisely, and distinguishing essential modifications from optional additions, you can achieve that picture-perfect fit without financial regret.
Remember, your wedding dress should make you feel like the most beautiful version of yourself. Strategic spending on alterations ensures that investment goes exactly where it matters – creating a gown that fits your body, your style, and your budget.
I’d love to hear about your alteration experience! Share your cost-saving tips in the comments below, and don’t forget to explore our other bridal guides for more wedding day styling wisdom. Looking for more inspiration? Check out our seasonal lookbooks for complete wedding ensemble ideas.
FAQs
How much should I budget for wedding dress alterations?
Plan to spend 10-20% of your dress cost on alterations. For a $2,000 gown, budget $200-$400 for modifications. Complex dresses may require more.
Can any tailor alter a wedding dress?
While technically possible, I strongly recommend seeking seamstresses with specific bridal experience. Wedding gowns involve unique construction techniques, delicate fabrics, and specialized hardware that general tailors may not regularly encounter.
When should I start the alteration process?
Begin approximately three to four months before your wedding. This timeline allows for unhurried fitting appointments, any needed revisions, and avoids costly rush fees.
What’s typically the most expensive wedding dress alteration?
Extensive bodice reconstruction, adding sleeves, and elaborate bustle systems tend to be the most costly. Alterations involving heavy beading or hand-applied lace also command premium pricing due to labor intensity.
Should I lose weight before alterations begin?
If weight changes are part of your wedding plan, aim to reach your goal weight at least six to eight weeks before your first structural fitting. This gives your body time to stabilize and prevents expensive re-alterations.
Can alterations fix a dress that’s completely wrong?
Skilled tailors can accomplish remarkable transformations, but extensive modifications often cost more than the original dress. If major reconstruction is needed, consider whether purchasing a different gown might be more economical.


About author















Add comment