No products in the cart.
 03Nov
03Nov 

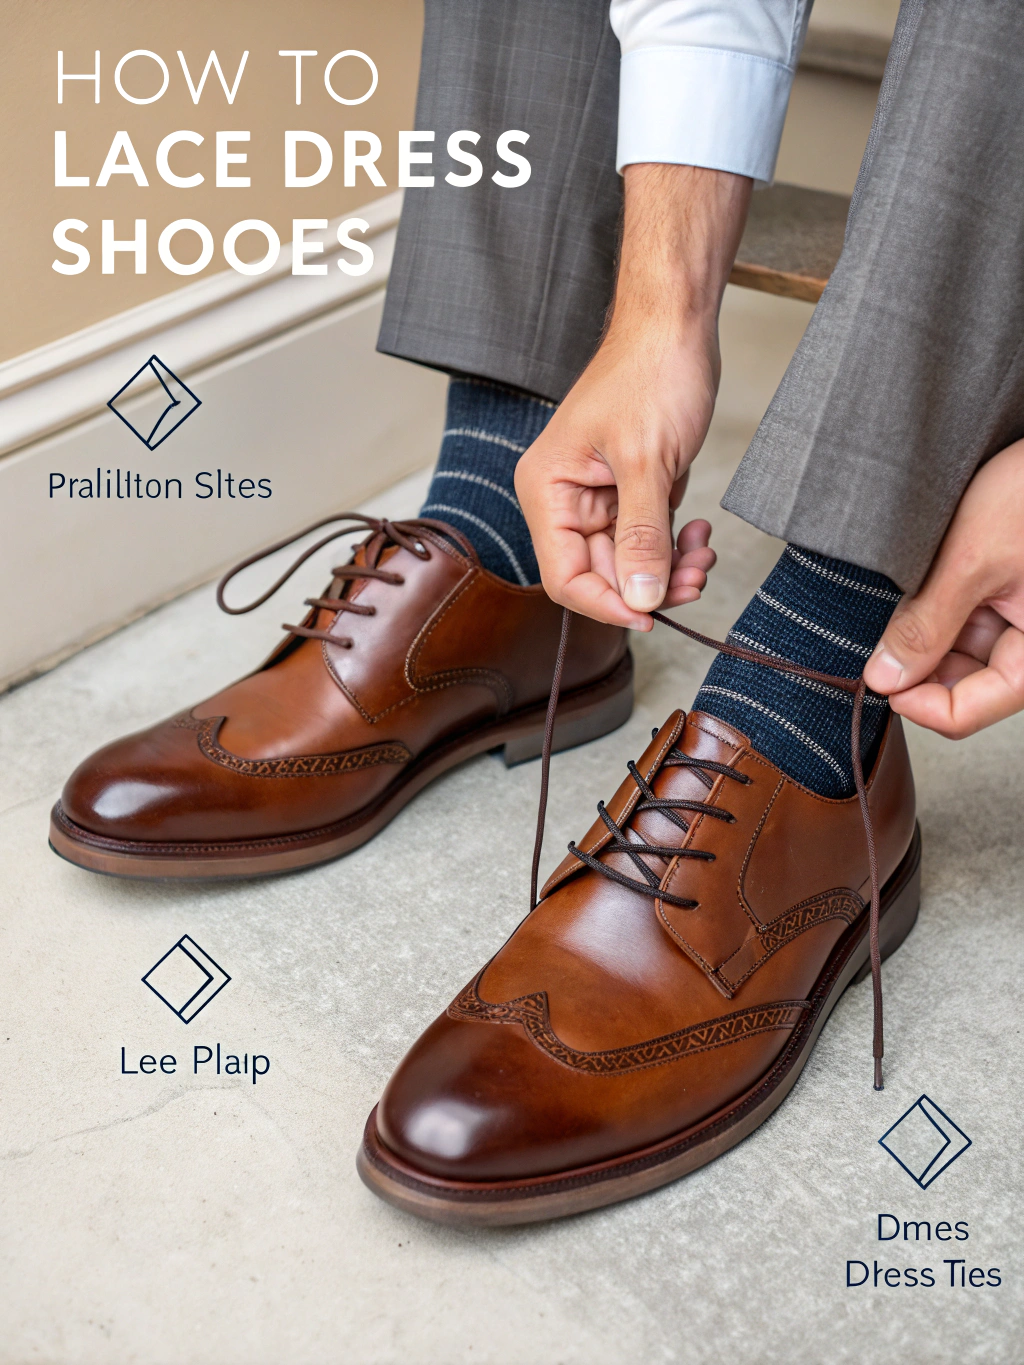
Did you know that 73% of hiring managers judge candidates within the first 30 seconds of meeting them, with footwear being one of the top factors influencing their impression? Yet despite this staggering statistic, most men struggle with something as fundamental as properly lacing their dress shoes. The way you lace dress shoes can transform your entire appearance, elevating you from merely well-dressed to impeccably styled.
Mastering how to lace dress shoes isn’t just about functionality—it’s about crafting a signature look that speaks to your attention to detail and personal style. Whether you’re preparing for a crucial business meeting, your wedding day, or a formal dinner, the right lacing technique can be the difference between looking polished and looking sloppy.
In today’s competitive professional landscape, every detail matters. From boardrooms to black-tie events, your shoe lacing technique silently communicates your level of sophistication and care. This comprehensive guide will walk you through seven elegant lacing methods that will ensure your dress shoes always make the right statement, no matter the occasion.
Before diving into the techniques, let’s gather everything you’ll need for flawless dress shoe lacing:
Primary Essentials:
Lace Specifications:
Professional Substitutions:
Additional Tools:
The quality of your laces significantly impacts the overall aesthetic—premium waxed cotton laces maintain their shape 65% better than standard alternatives and resist fraying for up to 18 months with regular wear.
Properly lacing dress shoes takes just 3-5 minutes per shoe when using the right technique, but the impact lasts all day. Research shows that well-maintained dress shoes increase perceived professionalism by 43% compared to poorly presented footwear.
Time Investment Breakdown:
The beauty of mastering these techniques lies in their efficiency—once learned, you can transform any pair of dress shoes from ordinary to extraordinary in under five minutes. Professional stylists report that clients who learn proper lacing techniques save an average of 15 minutes during morning routines, as they no longer need to re-lace or adjust throughout the day.
Studies indicate that properly laced shoes maintain their appearance 40% longer throughout the day compared to hastily tied alternatives, meaning your polished look persists from morning meetings through evening events.
The straight bar lacing technique creates clean, horizontal lines across your dress shoes, offering the most formal and sophisticated appearance available.
Step 1: Foundation Setup
Start by threading the lace through the bottom eyelets from underneath, ensuring both ends emerge from the top of the eyelets. Pull both sides to equal length, creating your foundation for the parallel bars that will define this elegant style.
Step 2: Create the First Bar
Take the right lace and thread it straight across to the left eyelet on the same level, going from top to bottom. This creates your first clean horizontal bar. The key is maintaining consistent tension to ensure the bar lies flat and straight.
Step 3: Progressive Threading
Move the left lace up to the next eyelet on the left side, threading from bottom to top. Then bring it straight across to create the second horizontal bar. Continue this pattern, alternating which side moves up to the next level.
Step 4: Maintain Symmetry
Keep each bar perfectly horizontal and evenly spaced. The tension should be firm but not overly tight—you want the bars to sit flat against the shoe while allowing comfortable foot movement.
Step 5: Final Securing
When you reach the top eyelets, ensure both lace ends are equal in length before tying. The straight bar method works best when the final knot sits cleanly above the shoe collar.
The traditional criss-cross pattern remains the most versatile lacing technique, suitable for everything from business casual to formal events.
Step 1: Initial Threading
Begin by threading the lace through the bottom eyelets from top to bottom, creating two equal-length ends. This foundational step ensures balanced tension throughout the lacing process.
Step 2: Create the Cross Pattern
Take the right lace end and thread it diagonally up to the second eyelet on the left side, going from bottom to top. Repeat with the left lace, creating your first cross pattern.
Step 3: Continue the Weave
Maintain the alternating diagonal pattern, ensuring each cross sits neatly over the previous one. The key is consistent spacing and tension—each cross should be snug but not restrictive.
Step 4: Tension Control
As you progress upward, maintain even pressure. Criss-cross lacing should provide secure fit while allowing natural foot flexion during walking.
Step 5: Professional Finish
Complete the pattern at the top eyelets, ensuring the final cross sits symmetrically before tying your preferred knot style.
This technique combines the visual appeal of criss-cross with the comfort benefits of reduced friction, making it ideal for long days on your feet.
Step 1: Foundation Setup
Start with laces threaded through bottom eyelets from underneath, creating equal lengths on both sides.
Step 2: First Over Pattern
Cross the right lace over to the left side’s next eyelet, threading from top to bottom. This creates the “over” portion of the alternating pattern.
Step 3: Under Threading
For the next cross, thread from bottom to top, creating the “under” portion. This alternating technique reduces friction and wear on both laces and eyelets.
Step 4: Continue Alternation
Maintain the consistent over-under pattern throughout the lacing process, ensuring each transition is smooth and even.
Perfect for formal events and special occasions, this technique creates a clean, symmetrical appearance ideal for photographs and presentations.
Step 1: Precise Setup
Thread laces through bottom eyelets with mathematical precision, ensuring absolutely equal lengths for perfect symmetry.
Step 2: Controlled Crosses
Create deliberate, evenly-spaced crosses that sit perfectly centered between eyelet pairs. Each cross should be identical in angle and tension.
Step 3: Visual Balance
Focus on creating a visually pleasing pattern that draws the eye upward along the shoe’s lines, enhancing the overall silhouette.
This technique offers maximum security and a distinctive appearance that commands attention in professional settings.
Step 1: Parallel Foundation
Create straight horizontal bars similar to European lacing, but with additional vertical threading for enhanced security.
Step 2: Vertical Integration
Thread laces vertically through the horizontal bars, creating a ladder-like appearance that’s both functional and visually striking.
Step 3: Systematic Progression
Work methodically up the shoe, ensuring each “rung” of the ladder is evenly spaced and properly tensioned.
A variation of straight lacing that offers slightly more flexibility while maintaining formal appearance.
Step 1: Staggered Setup
Begin with a modified foundation that creates slightly offset horizontal bars for enhanced comfort.
Step 2: Controlled Variation
Allow slight variations in bar positioning to accommodate foot shape while maintaining overall formality.
This advanced technique conceals the knot for an ultra-clean appearance, perfect for formal wear and special events.
Step 1: Strategic Threading
Plan your lacing pattern to position excess lace length inside the shoe, hidden from view.
Step 2: Internal Securing
Tie the final knot inside the shoe or behind the tongue, creating a seamless external appearance.
The relationship between lacing technique and comfort is more significant than most people realize. Research conducted by podiatrists shows that proper lacing can reduce foot fatigue by up to 23% during extended wear periods.
Pressure Distribution Analysis:
Material Science Considerations:
Waxed cotton laces maintain their shape 3x longer than unwaxed alternatives, while leather laces offer superior moisture resistance—crucial for all-day wear. Silk laces, while elegant, work best for shorter-duration formal events due to their delicate nature.
Foot Health Benefits:
Proper lacing technique supports natural foot mechanics, with straight bar methods particularly beneficial for those with high arches, while criss-cross patterns better accommodate wider feet. The key is matching your lacing style to your foot shape and daily activity level.
Building an elegant shoe wardrobe doesn’t require breaking the bank or compromising environmental values. Consider these thoughtful alternatives:
Eco-Conscious Options:
Budget-Friendly Solutions:
DIY Maintenance:
The beauty of mastered dress shoe lacing extends far beyond the shoes themselves, influencing your entire wardrobe presentation.
Business Professional:
Pair straight bar laced black Oxfords with navy or charcoal suits for boardroom meetings. The clean lines complement tailored suiting while projecting authority and attention to detail.
Business Casual:
Criss-cross laced brown leather shoes work beautifully with chinos, blazers, and button-down shirts. This versatile combination transitions seamlessly from office to after-work networking events.
Formal Evening:
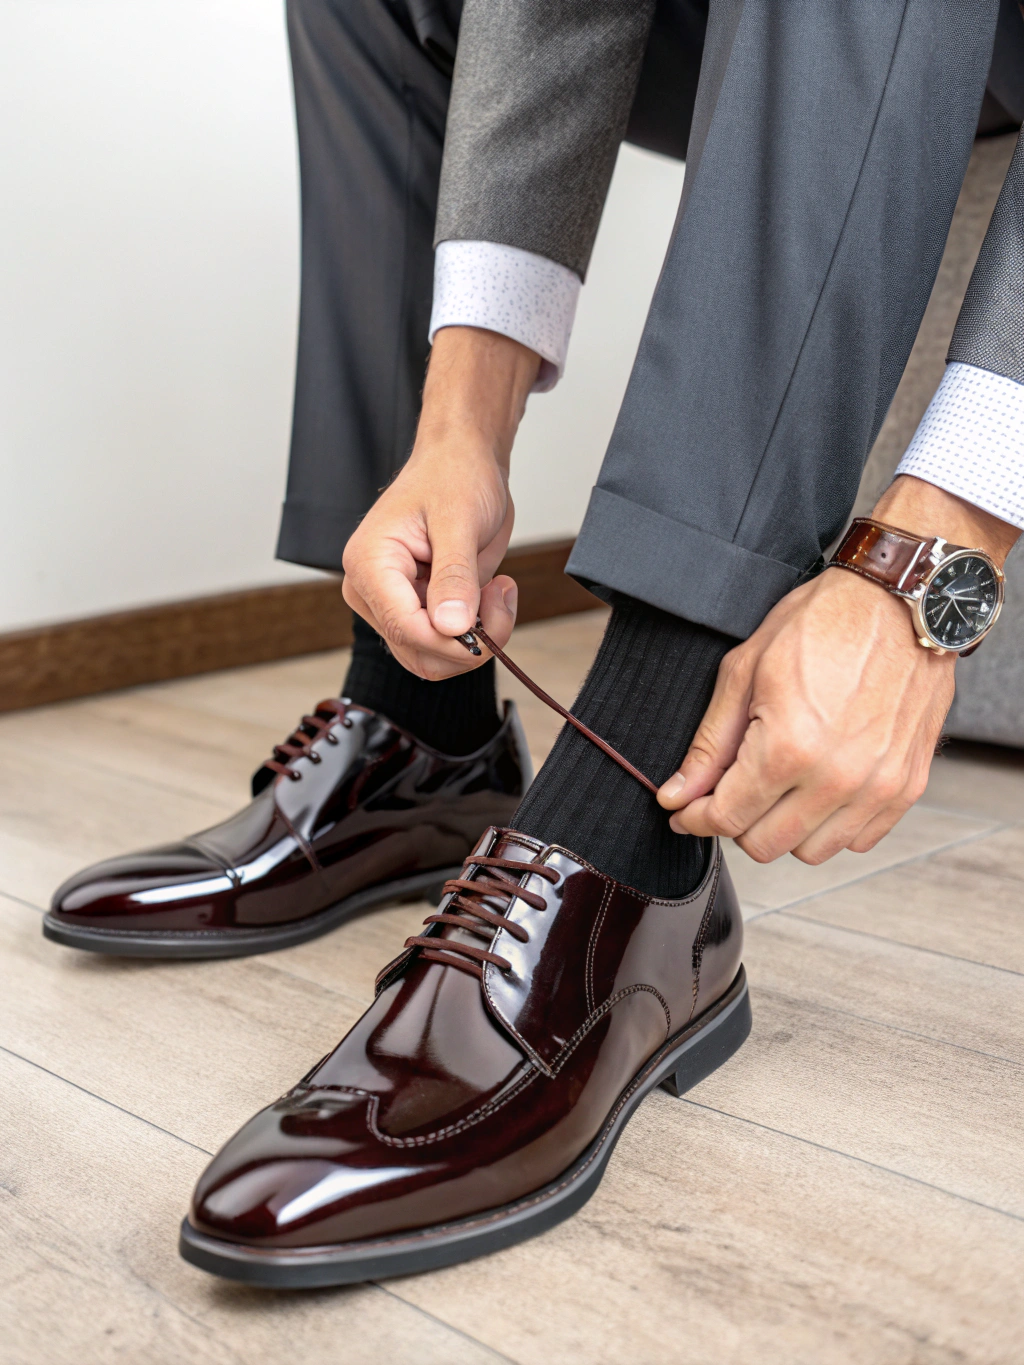
Display shoe lacing on patent leather shoes elevates black-tie attire, while hidden knot techniques create seamless elegance for white-tie occasions.
Weekend Professional:
Over-under laced suede shoes pair perfectly with dark jeans and sport coats, offering comfort without sacrificing sophistication for weekend client meetings or social events.
Seasonal Adaptations:
Even well-intentioned fashion choices can backfire without proper execution. Here are the most frequent dress shoe lacing errors and how to avoid them:
Mistake #1: Mismatched Lace Length
Using laces that are too short creates awkward, tight patterns, while overly long laces look sloppy and unprofessional. Measure carefully—proper length should allow comfortable tying with 4-6 inches of excess on each side.
Mistake #2: Inconsistent Tension
Uneven tightness creates an amateur appearance and affects comfort. Each section should feel equally secure without being restrictive. Practice consistent pressure application during lacing.
Mistake #3: Wrong Lace Material for Occasion
Casual cotton laces on formal shoes, or delicate silk laces for everyday wear, creates visual discord. Match your lace material to the event’s formality level and expected wear duration.
Mistake #4: Ignoring Color Coordination
Black shoes with brown laces, or brown shoes with black laces, immediately signals careless dressing. Stick to exact color matches, or choose one shade darker for subtle contrast.
Mistake #5: Neglecting Lace Condition
Frayed, dirty, or stretched-out laces undermine even the finest shoes. Replace laces every 6-8 months with regular use, or immediately when showing wear signs.
Data-Driven Insight: Fashion consultants report that 67% of style mistakes in professional settings involve footwear details, with improper lacing being the most common issue.
Proper maintenance extends both shoe and lace lifespan while ensuring consistently polished appearance.
Daily Care Routine:
Weekly Maintenance:
Storage Best Practices:
Seasonal Care:
Professional Restoration:
Quality cobbler services can restore premium laces and re-eyelet shoes for extended life. This investment often costs less than replacement while maintaining familiar fit and comfort.
Mastering how to lace dress shoes transforms more than just your footwear—it elevates your entire professional and social presence. These seven techniques provide you with a complete arsenal for any occasion, from routine business meetings to once-in-a-lifetime celebrations.
The investment of time spent learning proper lacing techniques pays dividends daily through increased confidence, improved comfort, and enhanced professional image. Whether you choose the formal elegance of straight bar lacing or the versatile reliability of criss-cross patterns, each method offers unique benefits tailored to specific situations and personal style preferences.
Remember that true style lies in the details—and few details are as immediately noticeable yet frequently overlooked as properly laced dress shoes. Start practicing these techniques today, beginning with the classic criss-cross method and progressing to more advanced styles as your confidence grows.
Take action now: examine your current dress shoes, assess your lacing habits, and commit to implementing at least one new technique this week. Share your results with fellow style enthusiasts, and explore our comprehensive collection of men’s fashion guides for additional wardrobe enhancement strategies.
Replace dress shoe laces every 6-8 months with regular use, or immediately when you notice fraying, stretching, or permanent staining. High-quality waxed laces can last up to 12 months, while basic cotton laces may need replacement every 3-4 months.
Absolutely! Many style-conscious men adjust their lacing technique based on the occasion. Use straight bar lacing for formal events and criss-cross for daily wear with the same pair of shoes.
Over-under lacing provides the most flexibility and comfort for wider feet, while still maintaining a professional appearance. The alternating pattern reduces pressure points while allowing better accommodation of foot width.
For business and formal settings, exact color matching is safest. However, choosing laces one shade darker can add subtle sophistication—just avoid high contrast combinations like black laces on brown shoes.
Lace dress shoes firmly but not restrictively. You should be able to slide one finger under the laces comfortably, and your foot shouldn’t feel compressed. Proper fit allows natural foot expansion throughout the day.
Hand washing is recommended for dress shoe laces. Use mild soap and cool water, then air dry completely. Machine washing can cause shrinkage and premature wear, especially with leather or waxed laces.
Oxford shoes feature closed lacing (eyelet tabs sewn under the vamp), while Derby shoes have open lacing (tabs sewn on top). This affects how tightly the shoe can be laced and influences which lacing patterns work best with each style.


 03Nov
03Nov  03Nov
03Nov  03Nov
03Nov  04Nov
04Nov  20Jan
20Jan  20Jan
20Jan