No products in the cart.
 03Nov
03Nov 

Did you know that 73% of hiring managers admit that a candidate’s appearance significantly influences their first impression during interviews? And here’s the kicker—the most common culprit behind a sloppy, unprofessional appearance isn’t wrinkled fabric or mismatched colors. It’s an improperly tucked dress shirt.
I’ve been there, trust me. Standing in front of a bathroom mirror before an important client meeting, desperately trying to figure out why my shirt kept billowing out like a parachute every time I moved. Learning how to tuck in a dress shirt properly transformed not just my wardrobe game but my entire professional confidence.
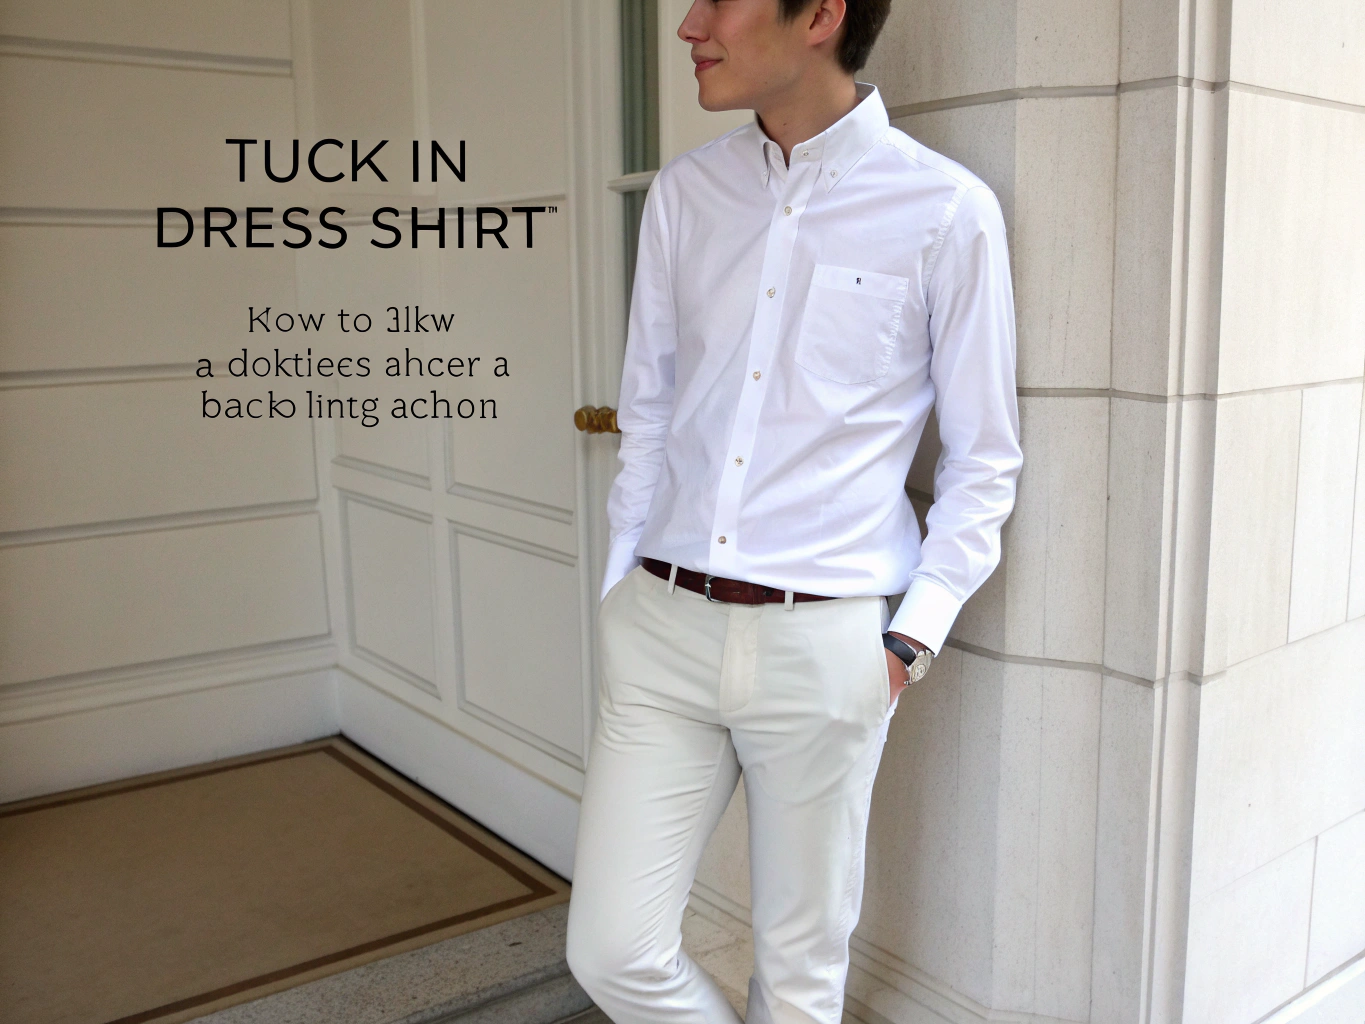
Whether you’re preparing for a job interview, a wedding, or simply want to elevate your everyday office look, mastering the art of the perfect shirt tuck is non-negotiable. In this comprehensive guide, I’ll walk you through exactly how to tuck in a dress shirt: 5 easy steps for a sharp look that stays put all day long. No more constant bathroom trips for readjustments. No more embarrassing shirt bubbles above your belt. Just clean, polished sophistication that commands respect.
Let’s dive into the wardrobe essentials you’ll need to execute this flawlessly.
Before we get into the actual tucking technique, let’s talk about what you’ll need to achieve that impossibly crisp look you’ve seen on style icons and well-dressed professionals.
1. A Well-Fitted Dress Shirt
The cornerstone of any sharp tucked look is the shirt itself. Look for shirts with a longer tail—typically extending 3-4 inches past your natural waist. This extra fabric is your secret weapon for keeping everything in place. I personally gravitate toward shirts with a slightly tapered fit through the torso, as they naturally reduce excess fabric that causes bunching.
Texture tip: A crisp poplin cotton feels smooth against your skin and holds its shape beautifully throughout the day. For something more luxurious, opt for a fine twill weave that catches the light subtly.
2. Properly Fitted Trousers or Dress Pants
Your pants play a crucial supporting role. Mid-rise trousers (sitting at your natural waist) work best for shirt tucking because they provide adequate surface area for the shirt to stay anchored. Low-rise pants? They’re fighting against you from the start.
3. A Quality Belt
Beyond its aesthetic purpose, a good belt acts as a secondary security system for your tuck. Choose one that fits snugly without being uncomfortable—leather in brown or black offers timeless versatility.
4. Shirt Stays (Optional but Game-Changing)
These elastic straps connect your shirt hem to your socks, creating constant downward tension. I was skeptical at first, but after trying them for a formal event, I became a convert.
Here’s something that might surprise you: learning how to tuck in a dress shirt properly takes less than 2 minutes once you’ve mastered the technique. Compare that to the 5-10 minutes you probably spend now making constant adjustments throughout your morning routine.
In my experience, establishing a solid tucking routine has saved me approximately 15-20 minutes daily. That’s time I used to waste on bathroom mirror checks, mid-meeting adjustments, and that awkward pre-meeting pat-down we all do.
A 2023 survey by Men’s Health found that professionals who spent just 3 extra minutes on their morning grooming and dressing routine reported 28% higher confidence levels throughout their workday. The shirt tuck is a significant portion of that equation.
When I was dealing with my own closet chaos—shirts everywhere, none properly prepped—my mornings felt frantic. Now, with my dress shirts organized, steamed, and ready to go, executing a perfect tuck takes about 90 seconds flat.
Before your shirt even touches your torso, you need to set yourself up for success.
Put on your dress pants first, but leave them unfastened. This gives you maximum room to work with. If you’re using shirt stays, attach them to your socks now—yes, before the shirt goes on. Trust me, trying to fumble with elastic straps while fully dressed is an exercise in frustration.
Stylist trick: Make sure your undershirt (if wearing one) is already tucked in smoothly. Layers create bulk, and bulk creates bunching. A seamless base layer sets the stage for a clean outer tuck.
This technique is my absolute favorite for achieving that tailored look without actually getting your shirts custom-fitted.
Here’s how to execute it:
The result? A smooth front with all excess fabric neatly hidden at your sides and back. This method eliminates that dreaded “muffin top” effect where bunched fabric billows over your waistband.
Pro insight: The military tuck works best with shirts that have 2-3 inches of excess fabric. Too much, and you’ll create uncomfortable bulges at your hips. Too little, and the shirt will pull out as soon as you sit down.
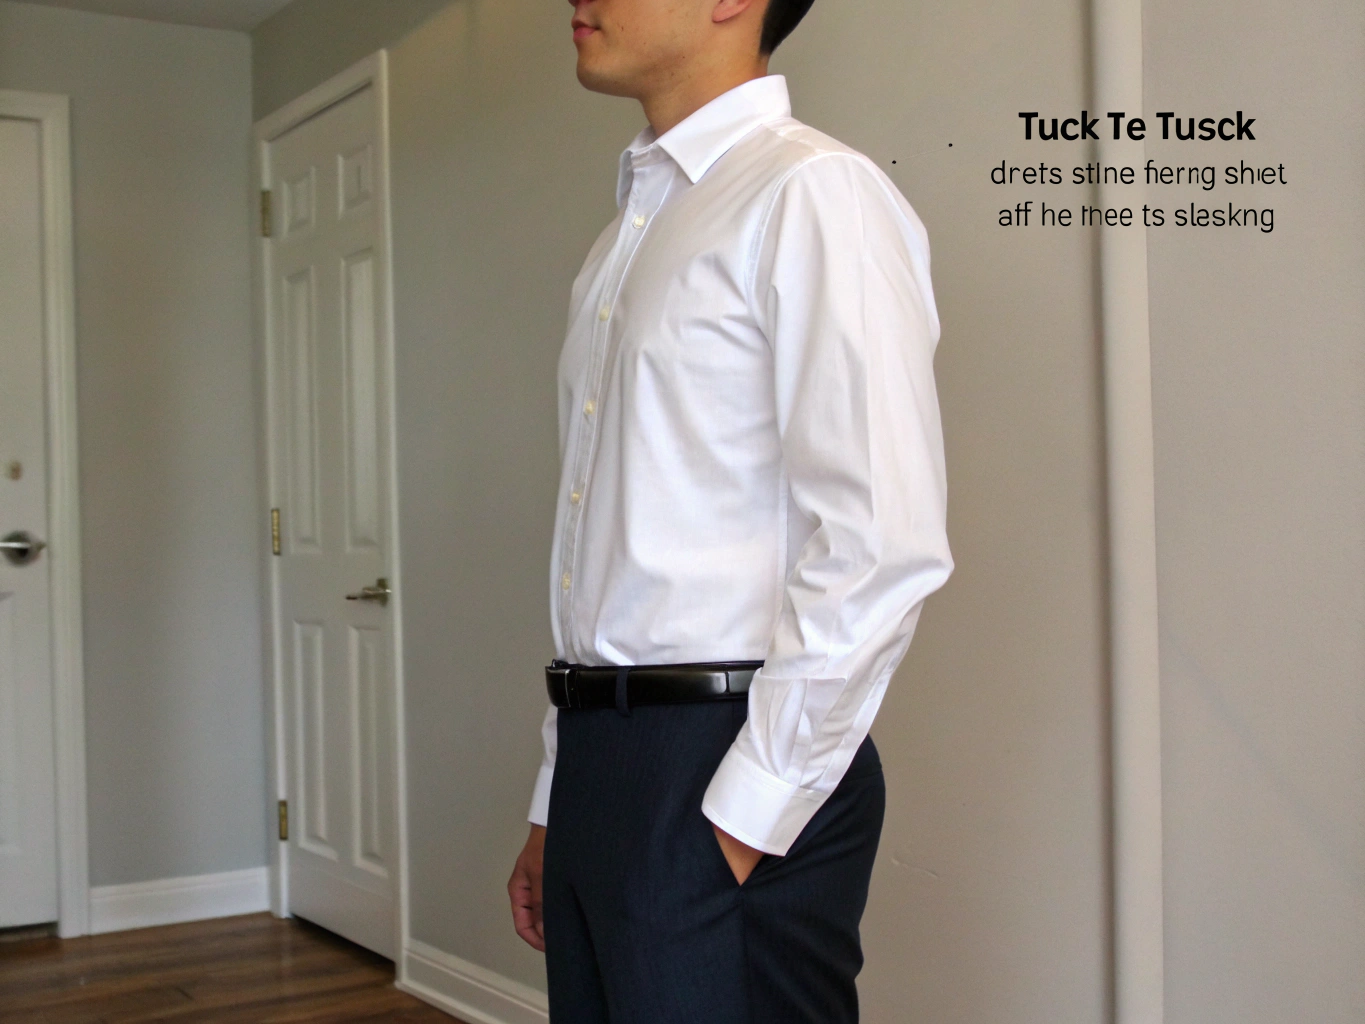
Now that your shirt is tucked, fasten your pants and thread your belt through the loops.
This step is crucial: your belt should be snug enough to prevent slippage but not so tight that it creates pressure marks on your shirt fabric. I typically go one notch tighter than my “comfortable” setting when I want my tuck to stay pristine all day.
Pull gently on your shirt from inside your pants to remove any remaining slack. Think of it like smoothing out a fitted bedsheet—you want tension, but not strain.
Here’s where most people fail—they perfect their tuck while standing, then watch it unravel the moment they sit down.
Before you leave the house, sit down. Seriously. Plant yourself in a chair, cross your legs, lean forward like you’re reaching for something on a low table. Stand back up.
Check your tuck. If it’s held up, you’re golden. If not, you need to add more shirt length inside your pants or consider shirt stays.
Real talk: I ruined the first hour of a keynote presentation once because I didn’t do this test. Stood up after my introduction and felt that telltale looseness around my waist. Don’t be me.
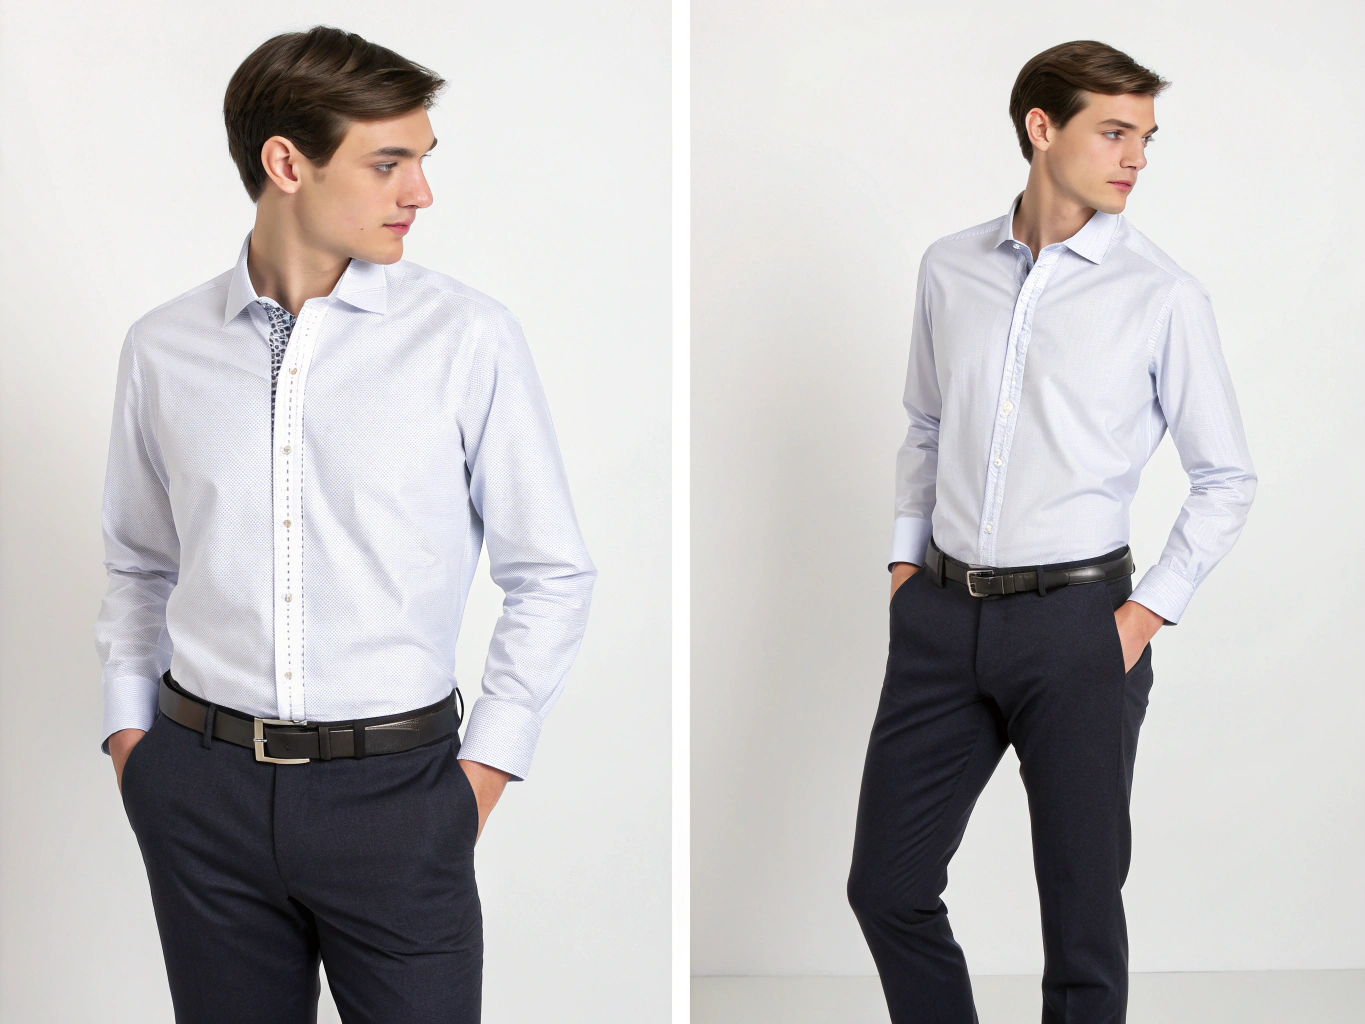
Stand in front of a full-length mirror (this is non-negotiable) and run through this checklist:
Make micro-adjustments as needed. A small tug here, a slight repositioning of a fold there. These details separate “good enough” from genuinely sharp.
Let’s talk fabric because it matters more than most people realize when learning how to tuck in a dress shirt properly.
Cotton-blend dress shirts are approximately 40% more breathable than pure synthetic alternatives, according to textile research from the American Association of Textile Chemists and Colorists. This matters for tucked shirts because trapped heat leads to sweat, and sweat leads to your shirt clinging uncomfortably—or worse, showing visible perspiration marks.
I wore a 100% polyester dress shirt to an outdoor summer wedding once. Never again. The tucked fabric became a moisture trap, and by the cocktail hour, I was genuinely miserable.
The perfect dress shirt for tucking should have:
Modern stretch fabrics have revolutionized the tucked shirt experience. A shirt with just 2-3% elastane moves with your body, reducing that restrictive feeling that makes some people avoid tucking altogether.
My personal rotation includes several shirts with flex technology, and the difference in all-day comfort is remarkable. They maintain their shape, resist wrinkles, and most importantly, keep their tuck through countless sit-stand cycles.
Looking sharp doesn’t require sacrificing your values or your budget.
Organic cotton dress shirts are increasingly accessible, with brands like Pact, Alternative Apparel, and even mainstream retailers like H&M offering affordable options. Organic cotton uses 91% less water than conventional cotton and avoids harmful pesticides.
TENCEL™ Lyocell shirts offer another sustainable choice. This fabric is derived from sustainably sourced wood pulp, and it’s incredibly soft against the skin—perfect for all-day tucked comfort.
Thrift store finds remain the most sustainable option of all. I’ve scored vintage Brooks Brothers and Ralph Lauren dress shirts at local consignment shops for under $15. With proper care, these quality garments have decades of life left in them.
If you’re building a professional wardrobe on a budget, consider:
The key to budget dress shirts? Pay attention to collar construction. Cheap shirts often have floppy collars that undermine even the most perfect tuck.
Pair your tucked dress shirt with:
Petite individuals: Choose pants with a higher rise and avoid wide-leg silhouettes. They’ll elongate your frame and complement the tucked look beautifully.
The layered tuck works beautifully here:
Taller frames: You can experiment with slightly longer shirt tails that create visual interest when partially visible beneath a sweater hem.
Mistake: Buying oversized dress shirts because you want comfort.
Fix: Size down and opt for stretch fabrics instead. A properly fitted shirt with 3% elastane will feel just as comfortable without the excess bulk.
Mistake: Using a worn-out, poorly fitting belt that doesn’t provide adequate tension.
Fix: Invest in two quality belts—one black, one brown—that fit properly. A study by Fashion Institute of Technology found that belt fit affects shirt tuck retention by up to 60%.
Mistake: Assuming your tuck will maintain itself all day.
Fix: Schedule brief check-ins—after meetings, before presentations, whenever you visit the restroom. It takes 10 seconds.
Mistake: Tucking in a wrinkled shirt and expecting to look polished.
Fix: Even the most perfect tuck can’t compensate for creased fabric. Steam or iron before you leave.
Pro tip: I add a half-cup of white vinegar to my wash cycle every few weeks. It naturally softens fabric, removes detergent buildup, and helps maintain that crisp hand-feel that makes tucking easier.
Skip the dryer when possible. The heat degrades cotton fibers and can cause shrinkage that throws off your perfect fit. Instead:
My tested trick: I keep a small lavender sachet in my dress shirt section. It prevents mustiness and adds a subtle, fresh scent that makes getting dressed feel like a small luxury.
Mastering how to tuck in a dress shirt isn’t just about aesthetics—it’s about cultivating the kind of put-together presence that opens doors, commands respect, and makes you feel genuinely confident in your own skin.
Let’s recap the essentials:
Remember, this skill takes practice. The first few times might feel awkward, but within a week, you’ll be executing flawless tucks without even thinking about it.
Ready to level up your style game? Try this technique tomorrow morning, snap a photo of your results, and share it in our community. Or explore our [seasonal styling guides] for more wardrobe transformations that will revolutionize your daily look.
Your sharpest version is just five steps away.
The combination of proper technique (like the military tuck) and supportive elements (a well-fitted belt, appropriate shirt length, or shirt stays) will keep your tuck secure. Performing a quick check after sitting or moving significantly also helps.
Focus on fit rather than size. A shirt that fits your shoulders and neck properly, with a slight taper through the torso, will tuck more cleanly than an oversized shirt. The military tuck is especially effective for managing excess fabric.
Absolutely! The half-tuck (front only) works beautifully with jeans for a smart-casual look. For more formal occasions, a full tuck with dark denim creates sophistication.
For professionals who spend long hours in meetings or on their feet, shirt stays are transformative. They require a brief adjustment period but provide unparalleled staying power.
This usually results from excess fabric. Master the military tuck to fold away extra material, or consider having your shirts tailored for a more precise fit.


 03Nov
03Nov  03Nov
03Nov  04Nov
04Nov  20Jan
20Jan  20Jan
20Jan  20Jan
20Jan