
How Much Does Wedding Dress Alterations Cost? 7 Price Factors Every Bride Must Know
Introduction
Did you know that nearly 80% of brides require some form of alteration on their wedding dress before walking down the aisle? Whether you’ve found your dream gown at a luxury boutique or scored a stunning vintage piece, understanding how much wedding dress alterations cost is absolutely crucial for staying within your bridal budget.
I still remember helping my sister navigate this exact dilemma three years ago. She’d budgeted perfectly for her dress but completely forgot about alterations—a mistake that nearly derailed her wedding budget. That experience taught me that alteration costs aren’t just a minor afterthought; they’re a significant investment that deserves careful planning.
So, how much does wedding dress alterations cost? The short answer: anywhere from $150 to $1,500, depending on several key factors. But don’t let that wide range intimidate you. Today, I’m breaking down the 7 price factors that determine your final alteration bill, plus insider tips I’ve gathered from working alongside seamstresses and bridal consultants over the years.
Whether you’re a budget-conscious bride or you’ve splurged on haute couture, this comprehensive guide will help you understand exactly what to expect—and how to make smart decisions that protect both your dress and your wallet.
Wardrobe Essentials List: What Your Bridal Fitting Requires
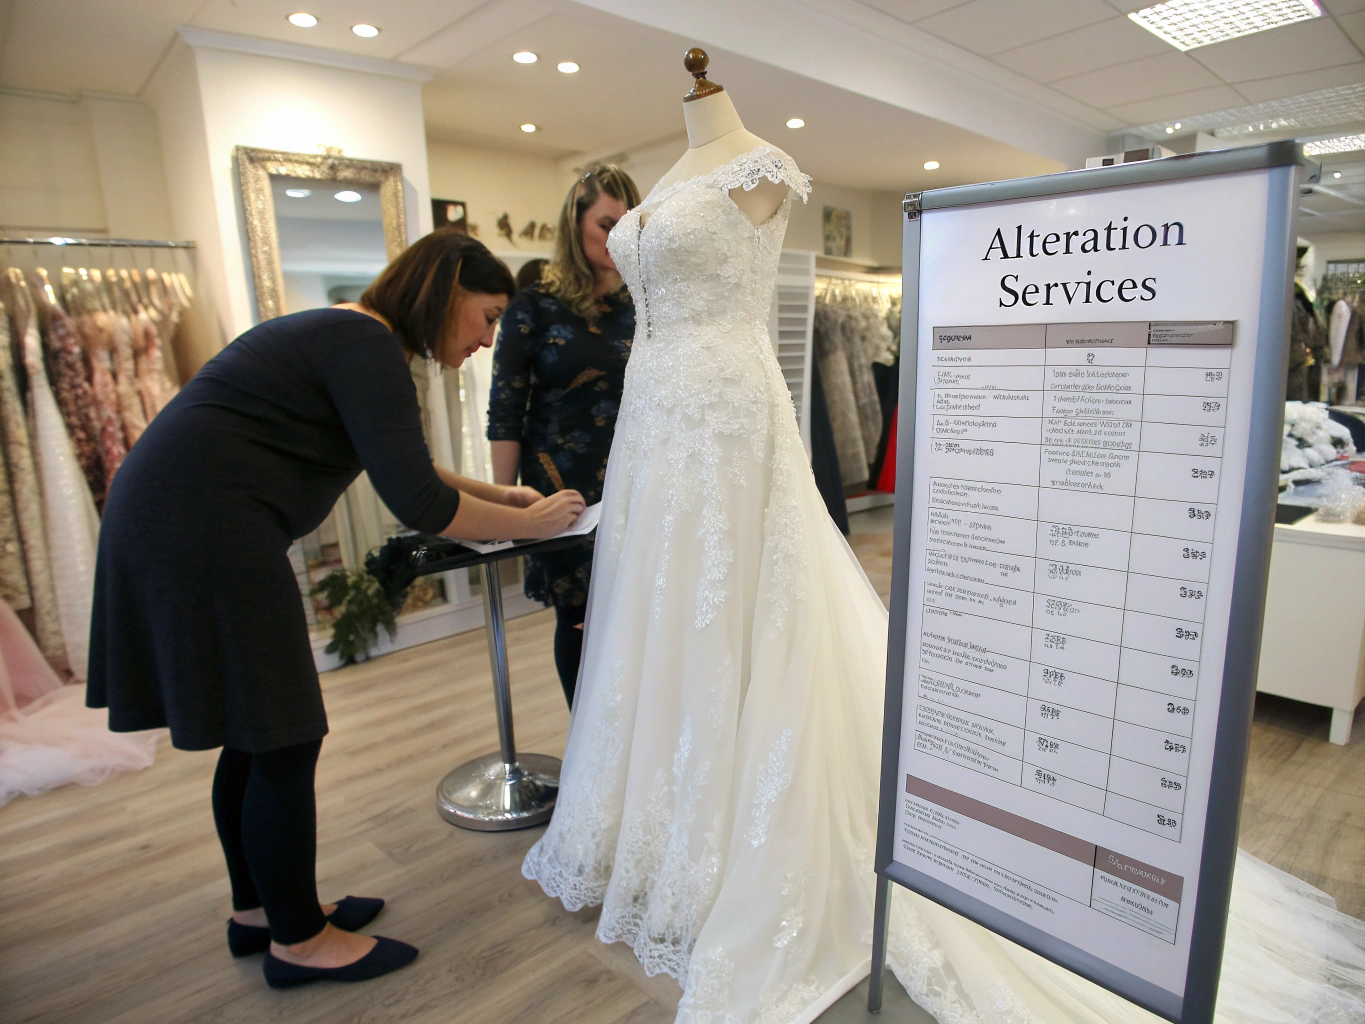
Before we dive into pricing, let’s talk about what you absolutely need to bring to your alteration appointments. Trust me, arriving prepared can actually save you money by reducing the number of fittings required.
Must-Have Items for Your Fitting
1. Your Wedding Shoes
The heel height determines your hem length—this is non-negotiable. If you haven’t purchased your wedding shoes yet, bring a pair with the exact heel height you’re planning to wear. I’ve seen brides spend extra money on re-hemming because they changed their shoe choice between appointments.
2. Shapewear or Undergarments
Whatever you plan to wear underneath your gown should accompany you to every fitting. A good quality bridal bodysuit or seamless underwear can actually reduce the alterations needed because it creates a smooth foundation.
Stylist swap: If traditional shapewear feels too restrictive, consider a lightweight, breathable bodysuit with built-in cups. Brands like SKIMS and Spanx offer bridal-specific options that feel like a second skin rather than a corset.
3. Your Veil and Accessories
Bringing your veil, belt, or sash helps your seamstress visualize the complete look. Sometimes, an embellished belt can eliminate the need for costly bodice alterations by drawing the eye strategically.
4. A Trusted Opinion
Bring one person whose fashion judgment you trust completely. Too many opinions create confusion (and potentially unnecessary alterations). This person should understand your style and body concerns.
The textures of your bridal look—whether crisp organza, romantic lace, or flowing chiffon—all react differently to alterations. Understanding your dress’s fabric composition helps you ask informed questions and budget accordingly.
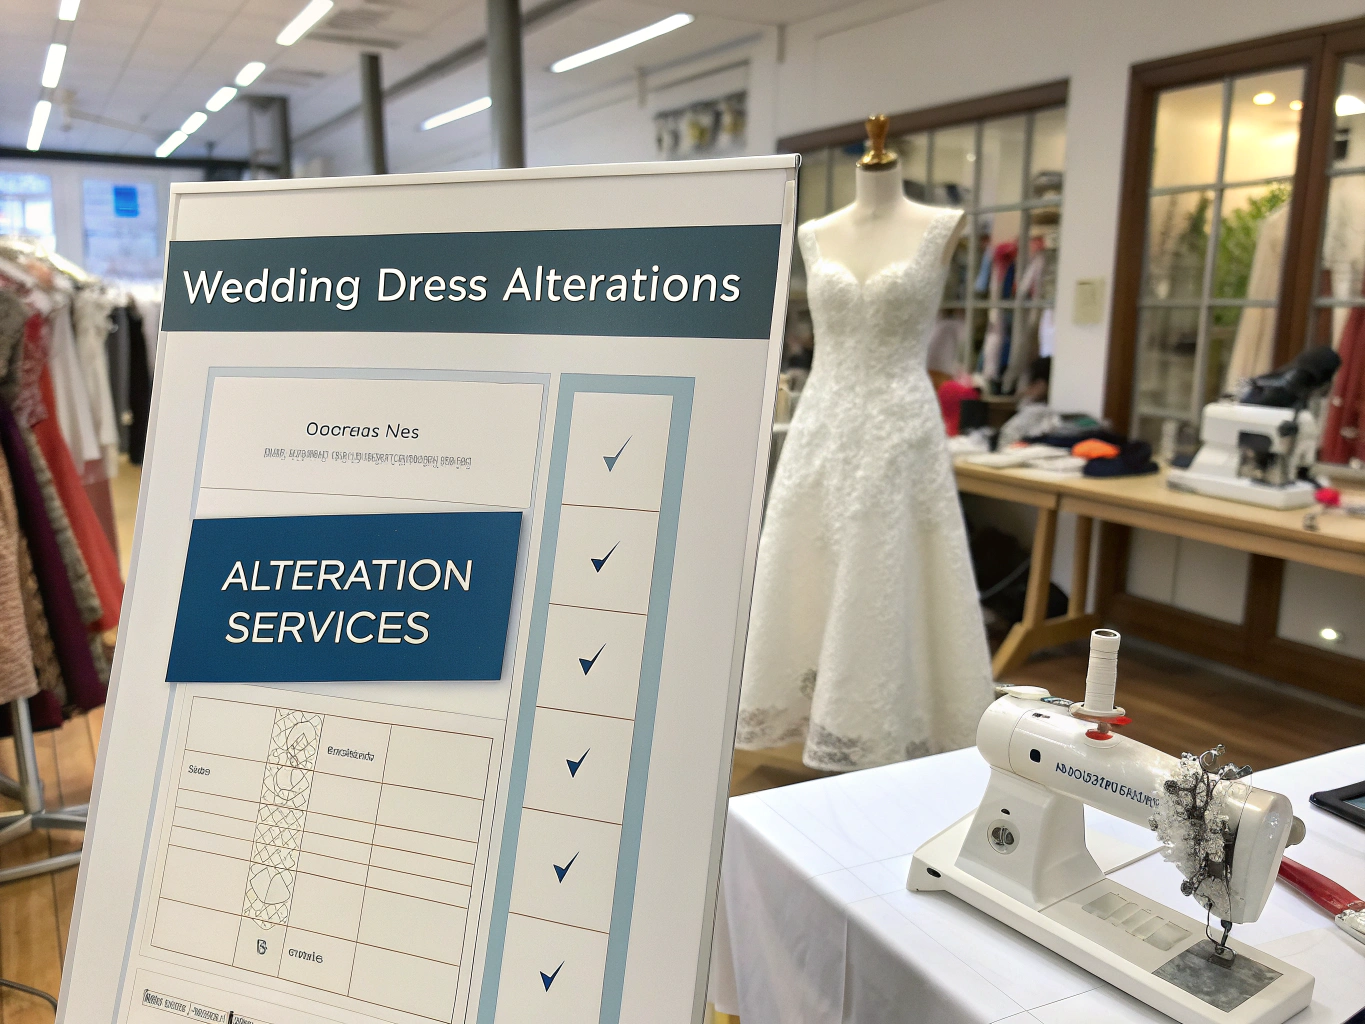
Styling Time: How Long Do Wedding Dress Alterations Take?
One question I hear constantly: “How long will my alterations take?” This directly impacts your wedding planning timeline and, indirectly, your costs.
Standard Alteration Timeline
| Alteration Type | Time Required | Fittings Needed |
|---|---|---|
| Basic Hemming | 2-4 weeks | 1-2 |
| Bodice Adjustments | 4-6 weeks | 2-3 |
| Major Restyling | 6-10 weeks | 3-4 |
| Custom Additions | 8-12 weeks | 3-5 |
Real-life comparison: When my friend Sarah ordered her dress from a popular bridal chain, she assumed alterations would take two weeks. In reality, her A-line gown with intricate beading required six weeks and three fittings. Planning ahead saved her from paying rush fees that would have added 40% to her total cost.
According to a 2023 Brides Magazine survey, the average bride schedules her first alteration appointment 8-12 weeks before the wedding. Brides who waited longer than 6 weeks before their ceremony paid an average of $200 more in rush fees.
Starting early doesn’t just reduce stress—it literally saves you money.
Step-by-Step Styling Guide: Understanding the 7 Price Factors
Now let’s break down the 7 critical factors that determine how much wedding dress alterations cost. Understanding these will help you anticipate expenses and negotiate effectively.
Factor 1: The Type of Alteration Needed
Not all alterations are created equal. Here’s what you can expect to pay for common adjustments:
Basic Alterations ($50-$200)
- Hemming: $75-$250 depending on layers
- Taking in side seams: $50-$150
- Adjusting straps: $25-$75
Intermediate Alterations ($150-$500)
- Bustline adjustments: $100-$300
- Adding cups or boning: $75-$150
- Shortening sleeves: $50-$100
Complex Alterations ($300-$1,000+)
- Adding a bustle: $100-$250
- Restructuring the bodice: $200-$500
- Adding sleeves: $150-$400
- Replacing a zipper with buttons: $150-$300
Stylist trick: If your dress needs multiple alterations, ask your seamstress about package pricing. Many offer discounts when bundling services—I’ve seen brides save 15-20% this way.
Factor 2: Dress Fabric and Construction
This factor surprises many brides, but it’s one of the biggest cost determinants. Delicate fabrics like silk charmeuse, hand-beaded lace, and layered tulle require specialized handling.
Fabric Cost Multipliers:
- Cotton/Polyester blends: Base price
- Satin/Crepe: 1.2x base price
- Chiffon/Organza: 1.3x base price
- Lace (machine-made): 1.4x base price
- Hand-beaded lace: 1.8-2.5x base price
- Silk Mikado: 1.5x base price
Why the dramatic differences? Delicate fabrics require slower machine speeds, hand-stitching, and extreme precision. When I worked with a seamstress who specialized in vintage gowns, she explained that hemming an antique silk dress can take five times longer than hemming a modern polyester blend.
Factor 3: The Number of Layers
That dreamy ball gown with multiple layers of tulle? Each layer needs individual attention.
A simple sheath dress typically has 1-2 layers, while a princess-style gown can have 6-10+ layers. According to The Knot’s 2024 Cost Survey, each additional layer adds approximately $20-$40 to hemming costs.
Personal experience: My cousin fell in love with an ethereal gown that had eight layers of tulle and an organza overlay. Her hemming alone cost $350—but knowing this upfront helped her budget appropriately.
Factor 4: Geographic Location
Just like real estate, alteration costs follow the location, location, location rule.
Regional Cost Comparisons (Average Total Alterations):
- New York City/Los Angeles: $500-$1,500
- Chicago/Miami: $350-$800
- Midwest/Southern cities: $200-$500
- Rural areas: $150-$400
If you’re in a high-cost area, consider traveling to a nearby suburb for significant savings. One bride I styled drove 45 minutes outside Boston and saved $400 on her alterations—definitely worth the commute.
Factor 5: Timeline and Rush Fees
Procrastination is expensive in the bridal world. Rush fees can add 25-50% to your total alteration cost.
Standard Rush Fee Structure:
- 4-6 weeks before wedding: 25% surcharge
- 2-4 weeks before wedding: 40% surcharge
- Less than 2 weeks: 50%+ surcharge (if they’ll even accept the work)
My honest advice? Book your alterations the moment you purchase your dress. Even if your first fitting is months away, having that appointment secured gives you peace of mind and protects your budget.
Factor 6: Seamstress Expertise Level
Who handles your alterations matters tremendously—both for quality and cost.
Tier Breakdown:
- Bridal shop in-house seamstress: Mid-range pricing, convenient, familiar with dress brand
- Independent master tailor: Often highest quality, premium pricing, personalized attention
- Local dry cleaner/tailor: Budget-friendly, may lack bridal-specific experience
- Couture atelier: Luxury pricing, exceptional craftsmanship, typically for designer gowns
For gowns under $2,000, a reputable independent seamstress often provides the best value-to-quality ratio. For designer or couture pieces, investing in a specialist protects your investment.
Factor 7: Structural Changes vs. Surface Adjustments
Finally, understand the difference between structural alterations (changing the dress’s architecture) and surface adjustments (modifications that don’t affect the underlying construction).
Surface Adjustments (Lower Cost):
- Hemming
- Adding embellishments
- Shortening straps
- Minor bustle creation
Structural Changes (Higher Cost):
- Changing the neckline
- Converting strapless to sleeves
- Significant size adjustments (2+ sizes)
- Opening/closing back seams
When I consult with brides, I always recommend choosing a dress that fits your largest measurement (usually bust or hips). Taking a dress in is almost always cheaper than letting it out—and sometimes letting out isn’t even possible without visible marks or insufficient seam allowance.
Fashion Fit & Comfort Insights
Understanding how your dress should fit is crucial for communicating with your seamstress effectively.
The Perfect Bridal Fit Checklist
Bodice:
Your bodice should feel snug but allow comfortable breathing. A properly fitted bodice stays in place without constant adjustment. According to bridal industry research, 65% of alteration appointments involve bodice adjustments—making this the most common (and important) fit issue.
Waist:
The waistline should hit at your natural waist (or wherever the dress design intends). A common mistake? Assuming a dropped waist is a fit issue when it’s actually a design feature.
Hips:
You should be able to walk, sit, and dance without restriction. I always advise brides to practice their first dance moves during fittings—nothing reveals fit issues like movement.
Hem:
Your hem should graze the floor in the front while wearing your wedding shoes. Too long, and you’ll trip; too short, and the proportions look off.
Experiential note: I attended a wedding last summer where the bride mentioned her dress felt “surprisingly light” despite being a full ball gown. Her secret? The seamstress removed one inner layer of stiff petticoat that wasn’t visible but added unnecessary weight. Sometimes alterations aren’t just about fit—they’re about comfort.
Sustainable & Affordable Alternatives
Not every bride has unlimited alteration budgets—and that’s perfectly okay. Here are creative approaches I’ve seen work beautifully:
Budget-Friendly Options
1. DIY-Friendly Alterations
Simple tasks like adding fashion tape, hand-sewing a bustle snap, or shortening straps don’t always require professional help. YouTube tutorials and basic sewing kits can handle minor fixes.
2. Bridal Consignment Shops
Many consignment shops offer in-house alterations at discounted rates when you purchase from them. This built-in service can save 20-30% compared to going elsewhere.
3. Fashion Design Students
Local fashion schools often have talented students seeking portfolio pieces. Supervised by instructors, they can provide quality work at significantly reduced rates.
Sustainable Choices
Heirloom Dress Alterations
Wearing your mother’s or grandmother’s dress is both meaningful and eco-friendly. While these alterations can be extensive, you’re giving new life to an existing garment rather than contributing to fast fashion.
Rental Dress Tailoring
Some bridal rental companies now offer light alteration services. This sustainable option keeps your environmental footprint low while ensuring proper fit.
Outfit Pairing Suggestions: Beyond the Dress
Your dress alterations should consider your complete bridal look. Here’s how accessories and pairings impact alteration decisions:
Seasonal Considerations
Spring/Summer Weddings:
Consider having your seamstress add discrete ventilation panels if your dress feels warm. Lighter bustles work better for outdoor ceremonies where you’ll move more freely.
Fall/Winter Weddings:
Adding a concealed snap system for a bridal cape or jacket creates versatility without permanent alterations. Ask about removable sleeve options for changing temperatures.
Body Type Pairings
Petite Brides:
Request a hem that allows ankle boots or lower heels—this prevents the dress from overwhelming your frame. A raised bustle point can also elongate your silhouette.
Tall Brides:
If your dress needs lengthening (yes, it happens!), discuss matching lace or fabric extensions at the hem. This costs more but looks seamless.
Curvy Brides:
Ensure alterations maintain your natural curves rather than flattening them. Strategic boning placement can provide support while celebrating your shape.
Common Style Mistakes to Avoid
After years in the fashion industry, I’ve seen these alteration mistakes repeatedly. Learn from others’ experiences:
Mistake 1: Altering Too Early
Losing or gaining weight before your wedding can necessitate re-alterations. Schedule your final fitting 2-3 weeks before your wedding for optimal results.
Mistake 2: Over-Tightening the Bodice
A snug fit is essential; a tourniquet is not. You need to breathe, eat, and dance. I’ve seen brides faint from overly tight bodices—don’t be one of them.
Mistake 3: Skipping the Bustle
If your dress has a train, you need a bustle for the reception. Assuming you’ll “figure it out” on your wedding day leads to tripping, stepping on fabric, and potentially damaging your gown.
Mistake 4: Not Testing Movement
Walk, sit, dance, and even hug during your fitting. One bride I worked with realized her bodice gaped dramatically whenever she raised her arms—an issue only visible during enthusiastic dancing.
Mistake 5: Choosing the Cheapest Option
Budget-consciousness is smart; choosing based solely on price is risky. Damaged lace or poor construction can cost more to fix than quality alterations would have originally.
Clothing Care & Storage Tips
Once your alterations are complete, proper care protects your investment:
Pre-Wedding Storage
- Store your dress in a breathable garment bag—never plastic, which traps moisture and yellows fabric
- Hang from sturdy loops (sewn inside the waistline) rather than thin straps
- Keep in a cool, dark location away from direct sunlight
Post-Wedding Preservation
Pro tip I learned from a textile conservator: Have your dress professionally cleaned within two weeks of your wedding. Invisible stains (perspiration, champagne, cake) can set permanently over time.
Conclusion: Your Alteration Investment Matters
Understanding how much wedding dress alterations cost empowers you to budget confidently and avoid stressful surprises. Remember these key takeaways:
- Budget $200-$600 for alterations on most gowns
- Start early to avoid rush fees
- Bring all accessories to every fitting
- Choose expertise over rock-bottom prices
- Communicate clearly about your vision and concerns
Your wedding dress is more than fabric—it’s a memory you’ll treasure forever. Investing in proper alterations ensures you feel confident, beautiful, and comfortable on your special day.
Ready to take the next step? Share your alteration questions in the comments below, explore our bridal styling guides, or save this article for reference when you schedule your fitting. Your perfect fit awaits!
FAQs
How much does basic wedding dress alterations cost?
Basic alterations like hemming and minor adjustments typically range from $150-$300. This assumes a simple silhouette without extensive beading or multiple layers.
Should I get alterations at the bridal shop or elsewhere?
Both options work well. Bridal shops offer convenience and familiarity with their products, while independent seamstresses often provide more personalized attention and competitive pricing.
How many fittings will I need?
Most brides require 2-3 fittings. Complex alterations or significant size changes may require 4-5 appointments.
Can I negotiate alteration prices?
Yes! Ask about package deals, off-season discounts, or price matching. Many seamstresses have flexibility, especially for multiple services.
What if I’m unhappy with my alterations?
Communicate concerns immediately. Reputable professionals will make adjustments. Always inspect thoroughly during fittings rather than waiting until pickup.
Is it cheaper to buy a dress in my size?
Sometimes, but not always. Sample sales and consignment dresses often offset higher alteration costs. Calculate the total investment before deciding.


Add comment