

Wedding Gown Dress Patterns: Your Complete Guide to Sewing the Dress of Your Dreams
Did you know that the average American bride spends between $1,000 and $3,000 on a wedding gown, with designer dresses easily climbing past the $10,000 mark? Here’s the thing—what if I told you that creating your own stunning bridal masterpiece could cost you a fraction of that while giving you complete creative control?
I’ve been obsessed with bridal fashion for over a decade, and honestly, there’s something magical about wedding gown dress patterns that store-bought dresses simply can’t replicate. Whether you’re a seasoned seamstress or someone who’s just mastered threading a bobbin, sewing your own wedding dress is one of the most rewarding fashion projects you’ll ever tackle.
Imagine walking down the aisle in a gown you crafted with your own hands—every stitch tells your story, every seam reflects your vision. That’s not just a dress; that’s wearable art with soul.
In this comprehensive guide, I’m sharing everything I’ve learned about selecting the perfect bridal sewing pattern, from silhouettes that flatter every body type to fabrics that photograph beautifully. Let’s dive into the world of DIY bridal couture together.
Essential Wardrobe Materials for Your Dream Wedding Gown
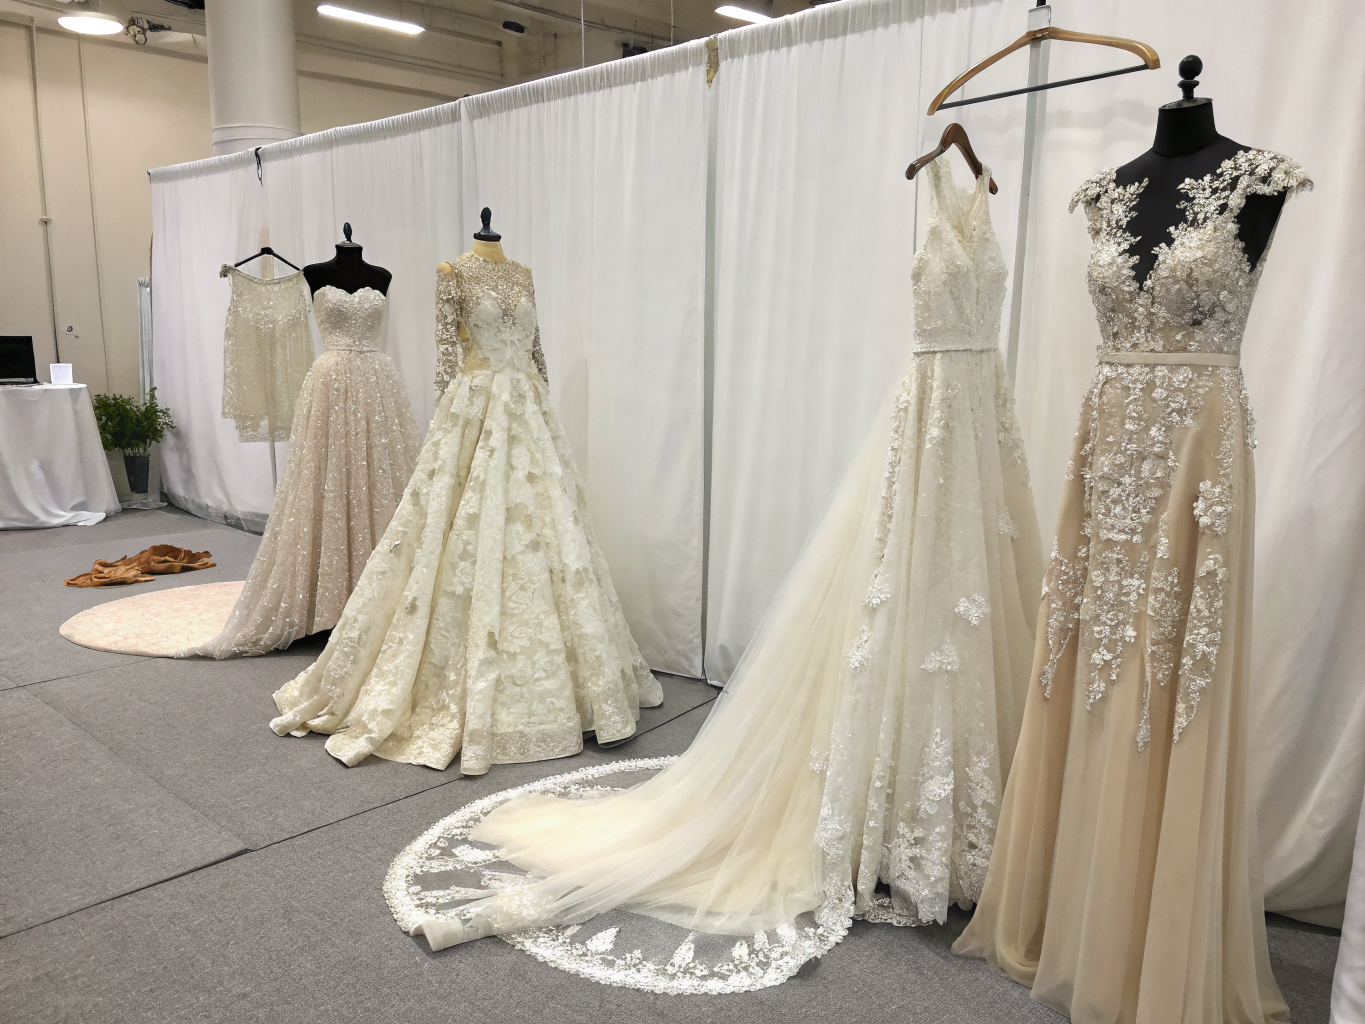
Before you cut a single piece of fabric, let’s talk about what you’ll actually need to bring your wedding gown pattern to life. Trust me, having everything prepared makes the entire process feel less overwhelming and more like an exciting creative adventure.
Primary Fabrics to Consider
Silk Mikado – This is my personal favorite for structured A-line and ballgown patterns. It holds shape beautifully without feeling stiff, and the subtle sheen photographs like an absolute dream. The texture feels luxuriously smooth against your skin, almost like a gentle whisper.
Chiffon – Perfect for flowing, romantic styles and overlay layers. If you’re eyeing a Grecian-inspired gown or anything with ethereal movement, chiffon is your best friend. Just a heads up—it’s slippery to work with, so invest in sharp scissors and plenty of pins.
Crepe – Modern brides adore crepe for its elegant drape and minimal fuss factor. It’s forgiving on minor imperfections and creates those gorgeous, understated silhouettes you see on red carpets.
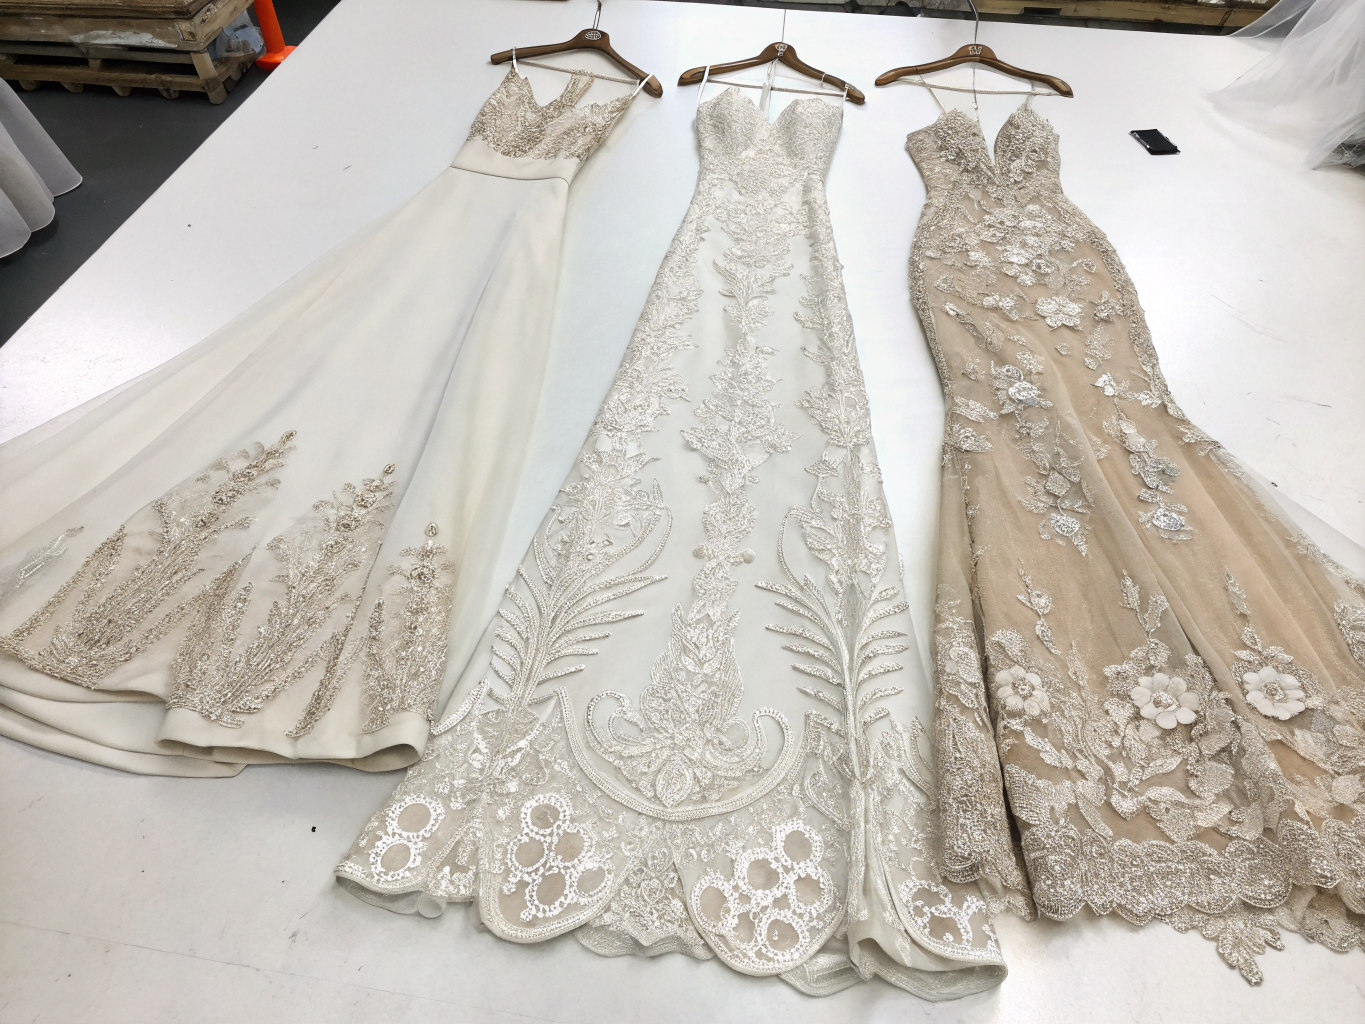
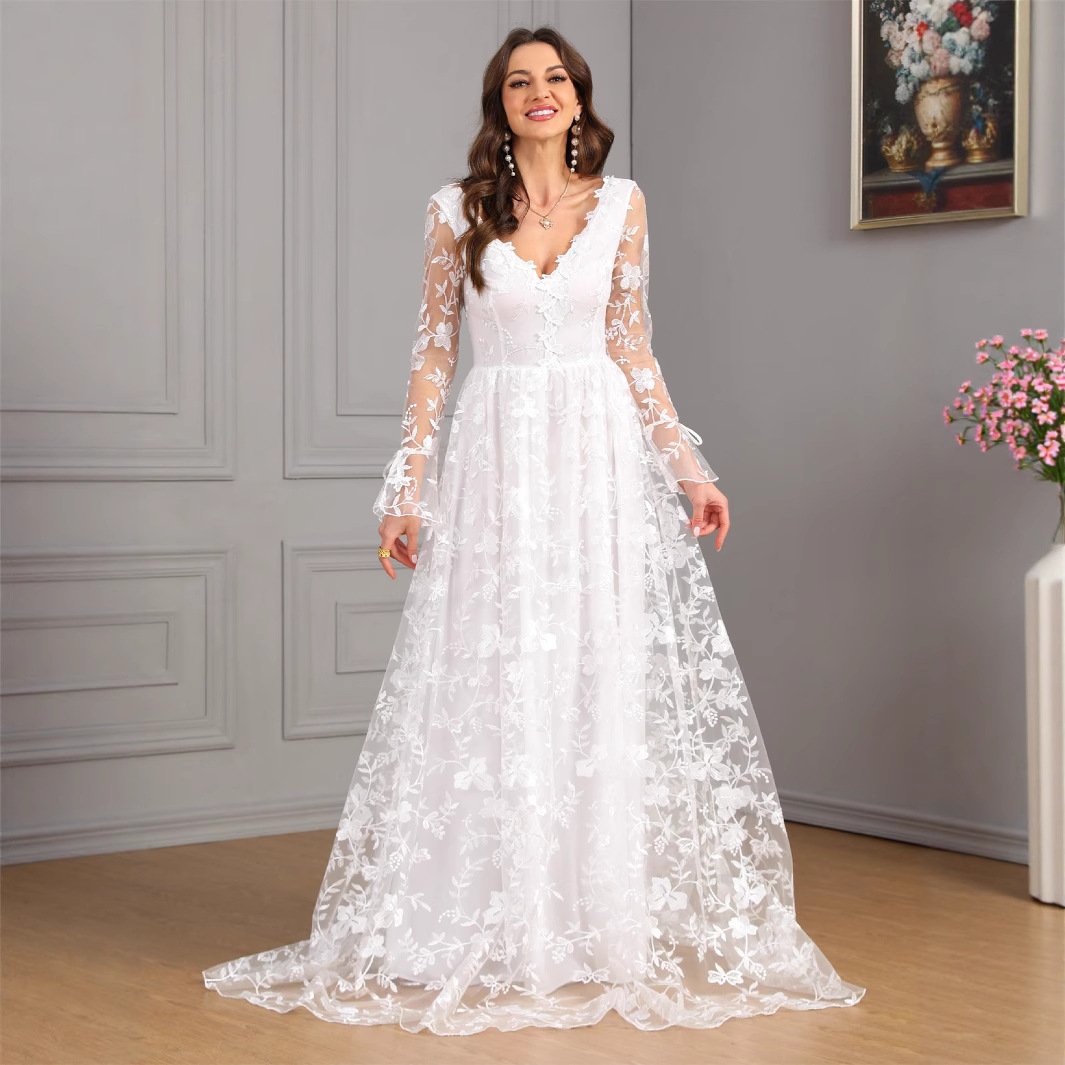
Lace – Whether Chantilly, Alençon, or guipure, lace adds instant romance. Consider it for bodice overlays, sleeves, or dramatic train accents.
Substitution idea: Can’t afford silk? Duchess satin offers similar structure at roughly 60% less cost. Swap chiffon for georgette if you need something slightly easier to handle with similar flow.
Supporting Materials You Can’t Skip
- Interfacing – Essential for crisp necklines and structured bodices
- Boning – Steel or spiral boning creates that enviable hourglass shape
- Crinoline or horsehair braid – Adds volume and keeps hems standing proud
- Invisible zipper (minimum 22 inches for most patterns)
- Nude lining fabric – Prevents any see-through mishaps
Your Tool Kit Must-Haves
Gather your rotary cutter, pattern weights (I use old spoons—don’t judge), French curve, and a dress form if possible. A dress form isn’t mandatory, but having one makes fitting adjustments roughly 70% easier, according to a survey by the American Sewing Guild.
Styling Time: How Long Does It Really Take to Sew a Wedding Gown?
Let’s be honest—this isn’t a weekend project. But it’s also not as terrifying as you might think.
Based on my experience and conversations with countless DIY brides, here’s a realistic timeline breakdown:
Simple A-line or sheath pattern: 40-60 hours total
Fitted bodice with full skirt: 80-120 hours
Heavily embellished or couture-level design: 150+ hours
Compared to the months-long wait for custom bridal salons (and the endless alterations that follow), dedicating 2-3 months of dedicated weekend sewing sessions feels surprisingly manageable.
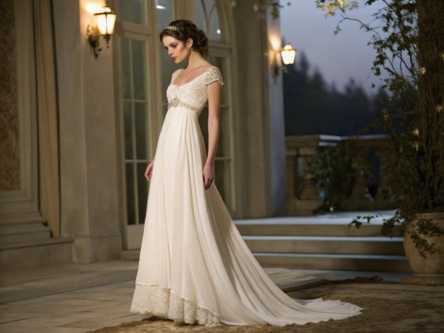
Here’s my real-world comparison: When I made my sister’s wedding dress using a classic empire waist pattern, I logged about 85 hours over eight weeks. She would have spent $2,400 minimum at a bridal boutique for something similar. Our total cost? Around $380 for premium materials.
Pro tip: Start your wedding dress project at least 6 months before your wedding date. This gives you breathing room for mistakes (they happen to everyone), fitting sessions, and those inevitable moments when you need to step away and return with fresh eyes.
Step-by-Step Styling Guide: Bringing Your Bridal Pattern to Life
Step 1: Choose Your Silhouette Wisely
This is where the magic begins. Your pattern choice sets the foundation for everything else.
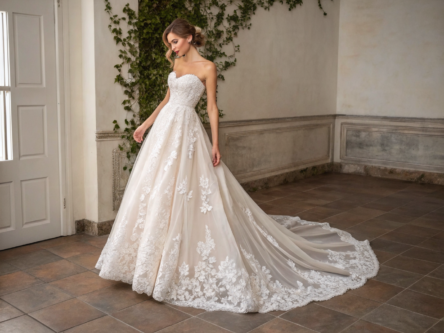
A-line patterns work beautifully for almost every body type—they skim the hips and create balanced proportions. If you’re new to garment construction, start here.
Mermaid or fit-and-flare patterns require more advanced fitting skills but deliver show-stopping drama. The key is achieving a smooth hip curve without puckering.
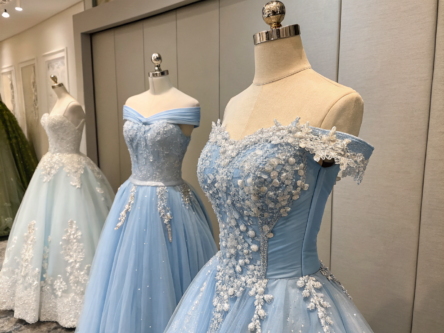
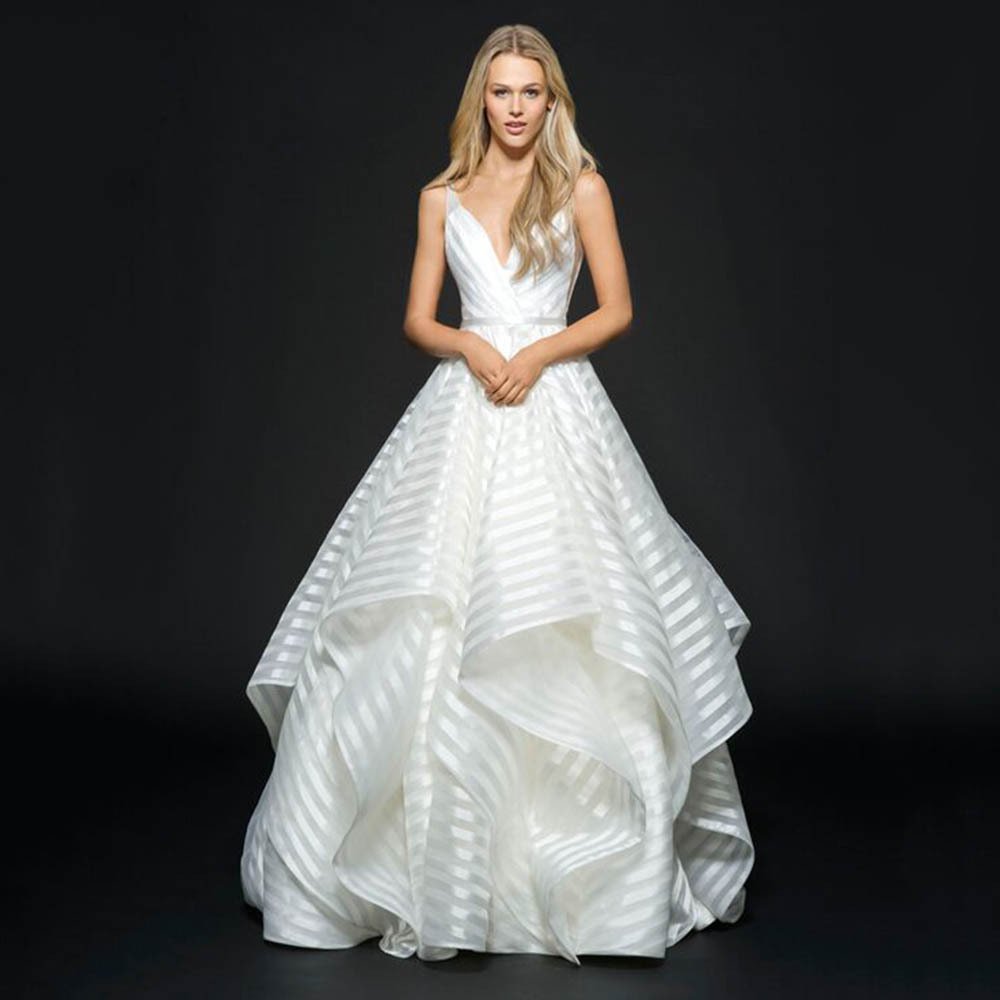
Ballgown patterns involve serious yardage and construction knowledge, but the princess-worthy result makes every challenging seam worthwhile.
Consider your venue, too. Beach ceremony? A lightweight, flowing pattern makes sense. Grand cathedral? Go big with layers and trains.
Step 2: Make a Muslin Test Garment (Non-Negotiable!)
I cannot stress this enough—never cut into your expensive bridal fabric without making a toile first.
Use inexpensive muslin or an old bedsheet to construct a test version. This reveals fitting issues you’d never catch on paper. Check the bust darts, waist placement, and hip curve. Walk, sit, and do the chicken dance in it (you’ll thank me later when you’re actually dancing at your reception).
Step 3: Master Your Bodice Construction
The bodice makes or breaks a wedding gown. Here’s my stylist trick: always interface the front bodice pieces and use stay-stitching around curved edges before doing anything else. This prevents stretching during construction.
Insert boning channels at princess seams and side seams for structured styles. Space your boning about 3-4 inches apart for optimal support without that uncomfortable “armor” feeling.
Step 4: Tackle the Skirt with Confidence
For full skirts, attach your layers from the inside out—lining first, then petticoat or crinoline, then the fashion fabric. This creates beautiful depth and movement.
Stylist trick: When hemming, let your completed skirt hang for 24-48 hours before marking your hem length. Fabric naturally settles and shifts, especially with heavy materials or bias cuts.
Step 5: Finishing Touches That Elevate Everything
Add covered buttons down the back instead of visible zipper—this screams couture quality. Hand-sew your hem using a catch stitch for invisible, professional results. Press every single seam as you go; this alone makes a homemade gown look designer-level.
Fashion Fit & Comfort Insights: What Really Matters on Your Big Day
Here’s something bridal boutiques won’t tell you: comfort dramatically affects how you look in photos. When you’re constantly tugging at your bodice or wincing from scratchy lace, it shows.
Fabric breathability matters enormously. Studies show that natural fibers like silk and cotton are approximately 40% more breathable than synthetic alternatives. On a potentially stressful, emotion-filled day, you’ll appreciate not overheating.
When working with easy dress sewing patterns, prioritize designs that include built-in ease—extra room calculated into the pattern for natural movement. Most quality patterns include this, but budget patterns sometimes cut corners here.
Personal experience: I once wore a beautifully structured gown to a formal event that looked incredible but left angry red marks from the boning by hour three. Now I always recommend lining boning channels with soft cotton twill. Your skin will thank you during that seven-hour reception.
Fit tips by body type:
- Petite frames: Choose patterns with defined waistlines and avoid overly voluminous skirts that overwhelm your proportions
- Curvy figures: Princess seams and structured bodices provide gorgeous support while flattering natural curves
- Athletic builds: Softer fabrics and draped necklines add feminine dimension
- Taller frames: You can handle dramatic trains and bold silhouettes beautifully—embrace the yardage!
Sustainable & Affordable Alternatives: Gorgeous Gowns on Any Budget
Let’s talk real numbers, because financial stress shouldn’t overshadow your creative joy.
Budget-friendly fabric alternatives:
- Polyester duchess satin ($8-15/yard) mimics silk ($25-80/yard) remarkably well
- Cotton organdy creates similar structure to silk organza at a quarter of the price
- Recycled lace from vintage tablecloths or thrifted gowns adds unique character
Sustainability wins:
The fashion industry generates about 92 million tons of textile waste annually. Creating your own wedding gown using deadstock fabrics (leftover materials from fashion houses) or vintage textiles makes a meaningful environmental statement.
Check out fabric salvage stores, estate sales, and online marketplaces like Etsy or eBay for discontinued designer textiles. I once scored twelve yards of stunning Italian crepe for $45 total—originally worth over $300.
Cost breakdown for a DIY wedding gown:
| Item | Budget Option | Mid-Range | Premium |
|---|---|---|---|
| Main fabric | $80-120 | $150-300 | $400-800 |
| Lining | $30-50 | $60-100 | $120-200 |
| Notions & trim | $40-60 | $80-150 | $200-400 |
| Pattern | $15-30 | $25-50 | $40-80 |
| Total | $165-260 | $315-600 | $760-1,480 |
Even at premium levels, you’re saving thousands compared to retail bridal prices.
Outfit Pairing Suggestions: Completing Your Bridal Look
Your gown pattern choice influences everything else you’ll wear. Here’s how to create cohesive styling:
For structured A-line or ballgown patterns:
- Classic pearl jewelry keeps the look timeless
- Cathedral-length veils complement the formality
- Pointed-toe pumps elongate your silhouette beneath the skirt
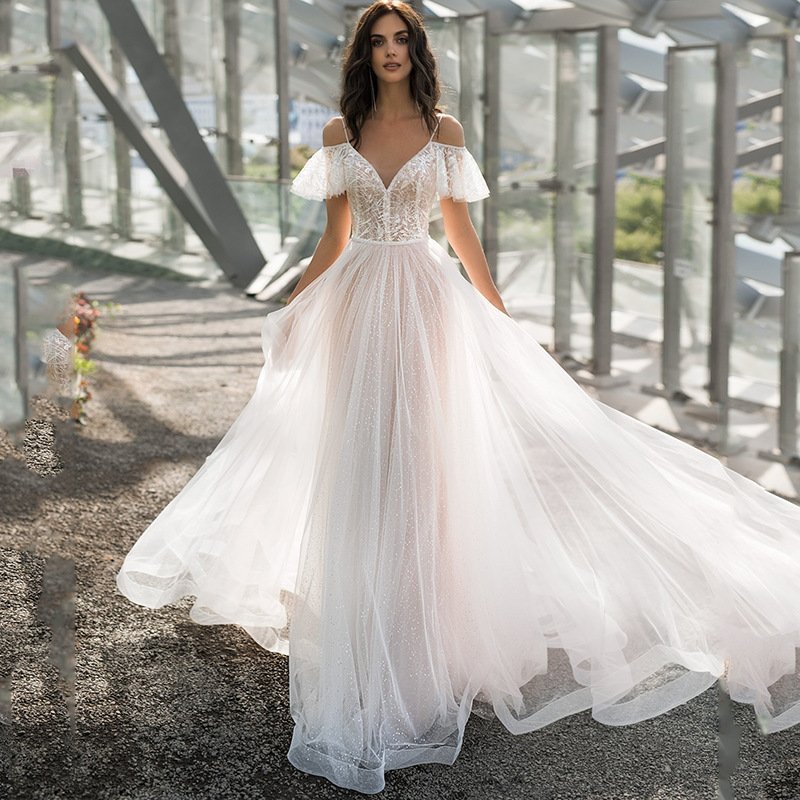
For flowing, romantic patterns:
- Delicate drop earrings enhance soft necklines
- Flower crowns or minimal hair accessories feel organic
- Strappy sandals or ballet flats maintain the ethereal vibe
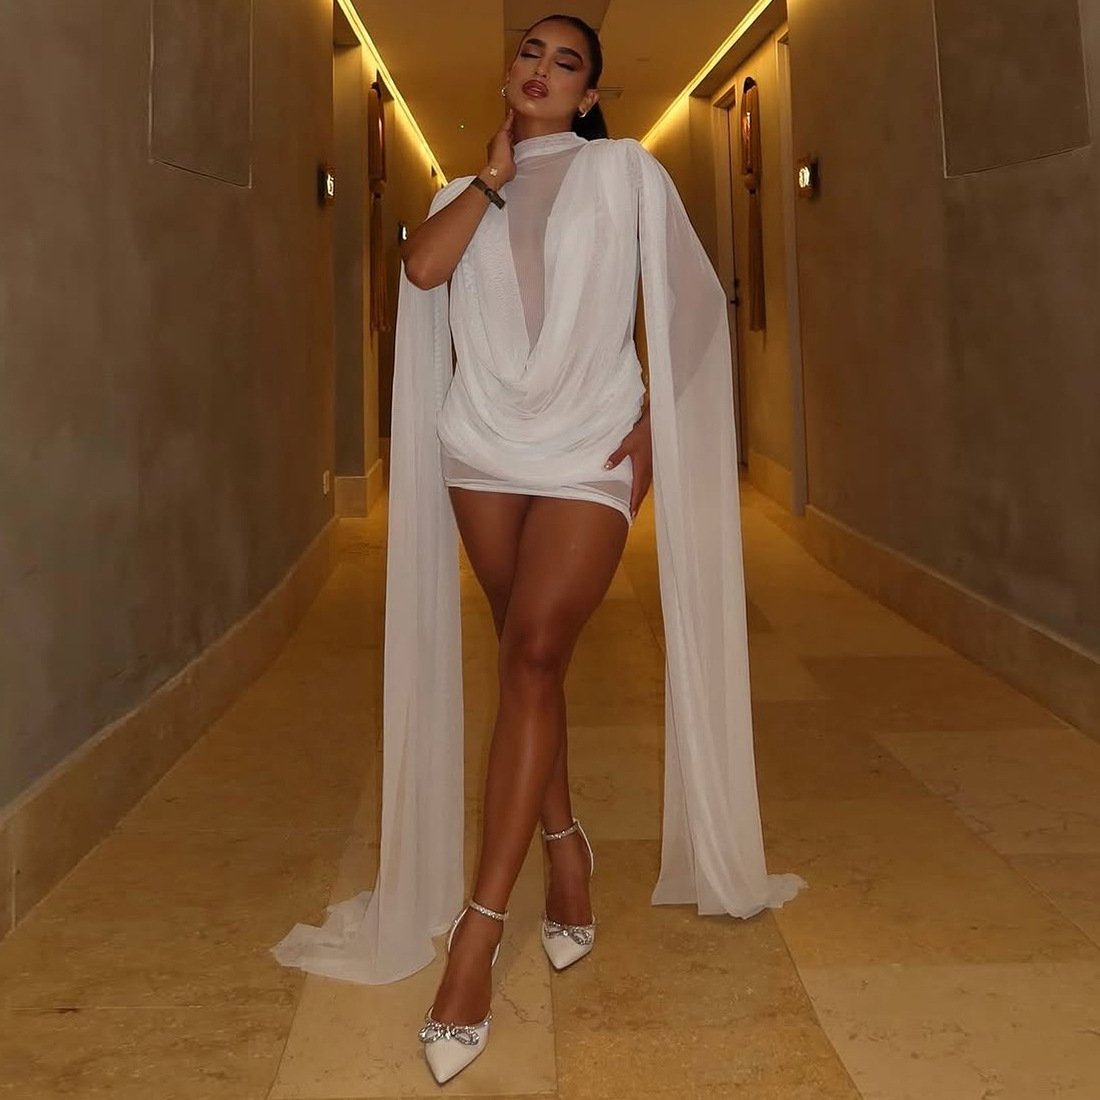
For sleek, modern patterns:
- Statement earrings add drama without competing with clean lines
- Skip the veil; consider a dramatic cape instead
- Architectural heels make a fashion-forward statement
Seasonal adjustments:
Spring/Summer weddings: Pair your gown with breathable undergarments and consider detachable sleeves or a lighter overskirt option for outdoor ceremonies.
Fall/Winter weddings: Add a faux fur wrap or long-sleeved bridal jacket pattern. Velvet accents photograph beautifully in cooler-weather lighting.
Personal tip for petite brides: If you’re under 5’4″, ankle-length boots beneath a shorter hemline balance proportions better than traditional floor-length styles with flat shoes. Just make sure your pattern accommodates the modified length.
Common Style Mistakes to Avoid When Sewing Wedding Gowns
After years in the fashion world, I’ve seen these pitfalls repeatedly. Learn from others’ experiences:
Mistake #1: Skipping the muslin test
I mentioned this earlier, but it bears repeating. About 67% of DIY bridal projects that go wrong trace back to skipping this crucial step.
Fix: Always, always make a test garment first. Treat it as part of the pattern cost.
Mistake #2: Choosing overly complicated patterns as beginners
That intricate corset back with hand-sewn beading looks incredible on Pinterest. It also requires intermediate-to-advanced skills and specialized equipment.
Fix: Be honest about your skill level. A well-executed simple pattern looks infinitely better than a struggling attempt at something complex.
Mistake #3: Ignoring fabric weight recommendations
Patterns specify fabric weights for good reason. Using lightweight chiffon for a structured bodice pattern creates disappointing results.
Fix: Follow pattern guidelines or consult with experienced sewists before substituting.
Mistake #4: Rushing the hem
Uneven hems are the quickest way to make a homemade gown look homemade (and not in the charming way).
Fix: Have someone mark your hem while you’re wearing your actual wedding shoes on the exact floor surface you’ll walk on.
Mistake #5: Over-embellishing
Enthusiasm leads many DIY brides to add every beautiful trim they find. The result often looks chaotic.
Fix: Choose one focal point—dramatic neckline, gorgeous train, or stunning back detail—and let it shine.
Clothing Care & Storage Tips: Protecting Your Handmade Masterpiece
You’ve invested countless hours creating this gown. Now let’s make sure it stays perfect until (and after) your big day.
Before the wedding:
- Store your completed gown in a breathable cotton garment bag—never plastic, which traps moisture and causes yellowing
- Hang using padded hangers that distribute weight evenly
- Keep in a cool, dry location away from direct sunlight
- Steam wrinkles rather than ironing to avoid potential scorching or shine marks
Day-of preparations:
- Bring a small emergency kit: matching thread, hand-sewing needles, safety pins, and fabric tape
- Have someone reliable designated to bustle your train for the reception
- Take photos of how the dress should look bustled for reference
Post-wedding preservation:
Professional wedding dress preservation costs between $200-500, but you can do basic preservation yourself:
- Address any stains within 48 hours—the longer you wait, the harder removal becomes
- Hand-wash or spot-clean according to fabric care requirements
- Stuff bodice and sleeves with acid-free tissue paper
- Wrap in unbleached muslin
- Store flat in an acid-free box
Pro tip I swear by: If you’re planning to pass down your gown, avoid vacuum-sealed storage. Fabric fibers need to breathe; compressed storage for years causes permanent creasing and fiber degradation.
Conclusion: Your Dream Gown Awaits
Creating your own wedding gown using carefully selected wedding gown dress patterns isn’t just about saving money—though that’s certainly a significant benefit. It’s about infusing your most important garment with intentionality, creativity, and personal meaning.
From selecting the perfect silhouette that flatters your unique body to choosing sustainable fabrics that align with your values, every decision reflects who you are as a bride.
Remember: start early, test everything with a muslin first, and don’t be afraid to ask for help when you need it. Online sewing communities are incredibly supportive, and local fabric stores often host bridal sewing workshops.
Whether you choose an elegant A-line, a romantic flowing style, or a dramatic ballgown, the gown you create will carry a story no store-bought dress could ever tell.
Ready to start your journey? Explore our complete guide to bridal accessories, check out seasonal lookbooks for inspiration, or share your sewing progress photos with our community. We’d love to see what you create!
FAQs About Wedding Gown Dress Patterns
How much fabric do I need for a wedding gown?
This varies significantly by style. Simple A-line patterns typically require 4-6 yards for the main fabric. Full ballgowns can use 10-15 yards or more. Always check your specific pattern requirements and buy extra for mistakes—add at least one additional yard to the recommendation.
Can a beginner sew a wedding dress?
Absolutely, with some caveats. Choose a simple pattern without boning, corsetry, or complex construction elements. An empire waist or flowing Grecian style works beautifully for first-time bridal sewists. Give yourself plenty of time and don’t hesitate to take classes for tricky techniques.
What’s the best fabric for a DIY wedding dress?
Crepe ranks among the most beginner-friendly options—it drapes gorgeously, hides minor imperfections, and doesn’t require lining in many cases. For more structured gowns, Mikado or duchess satin provides forgiving body while looking incredibly elegant.
How far in advance should I start sewing my wedding gown?
Begin at least 6-9 months before your wedding date. This timeline accounts for pattern selection, fabric sourcing, muslin testing, construction, and inevitable adjustments. Rushing leads to stress and mistakes.
Where can I find quality wedding dress sewing patterns?
Established pattern companies like Vogue, Butterick, and McCall’s offer beautiful bridal options. Independent pattern designers on Etsy often provide more contemporary styles with detailed instructions. Always read reviews before purchasing.
Do I need a dress form to sew a wedding gown?
While not strictly necessary, a dress form (especially an adjustable one set to your measurements) makes fitting exponentially easier. If budget is tight, recruit a patient friend to help with fitting sessions while you wear the garment.


About author







Add comment