No products in the cart.
 03Nov
03Nov 

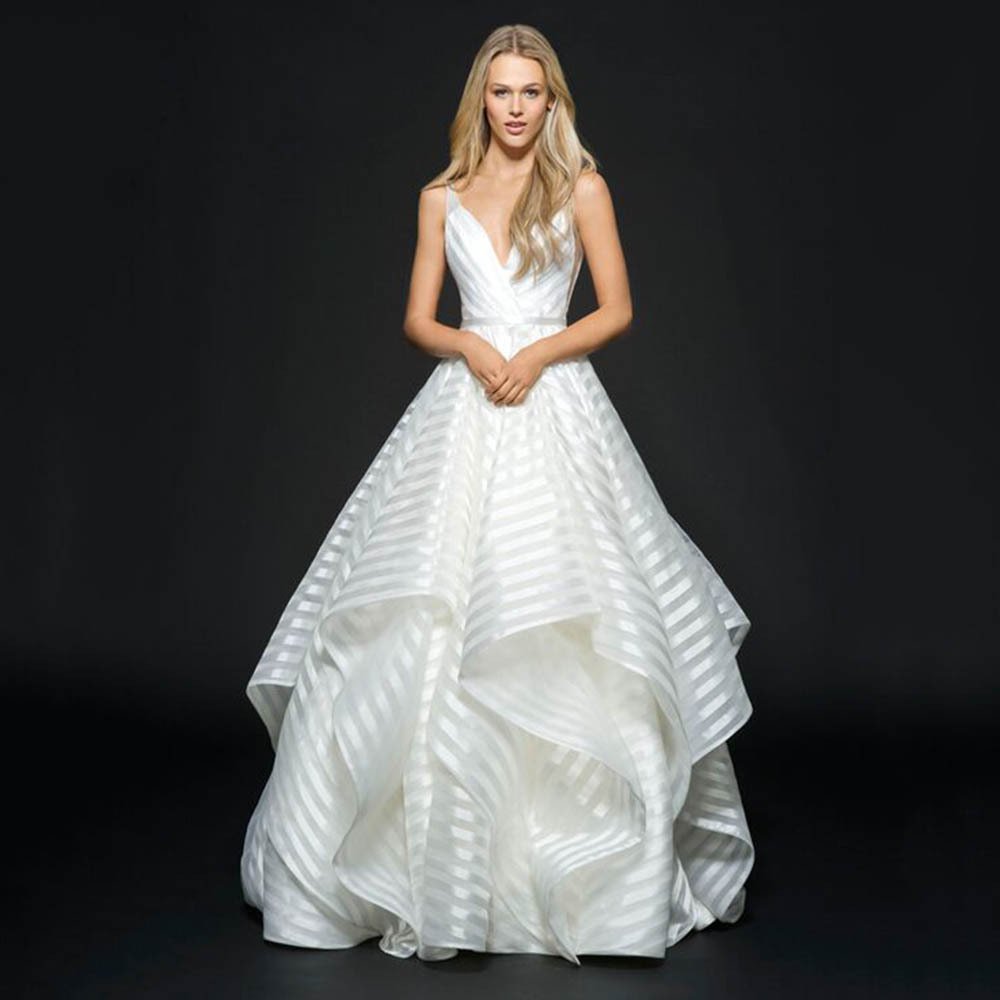
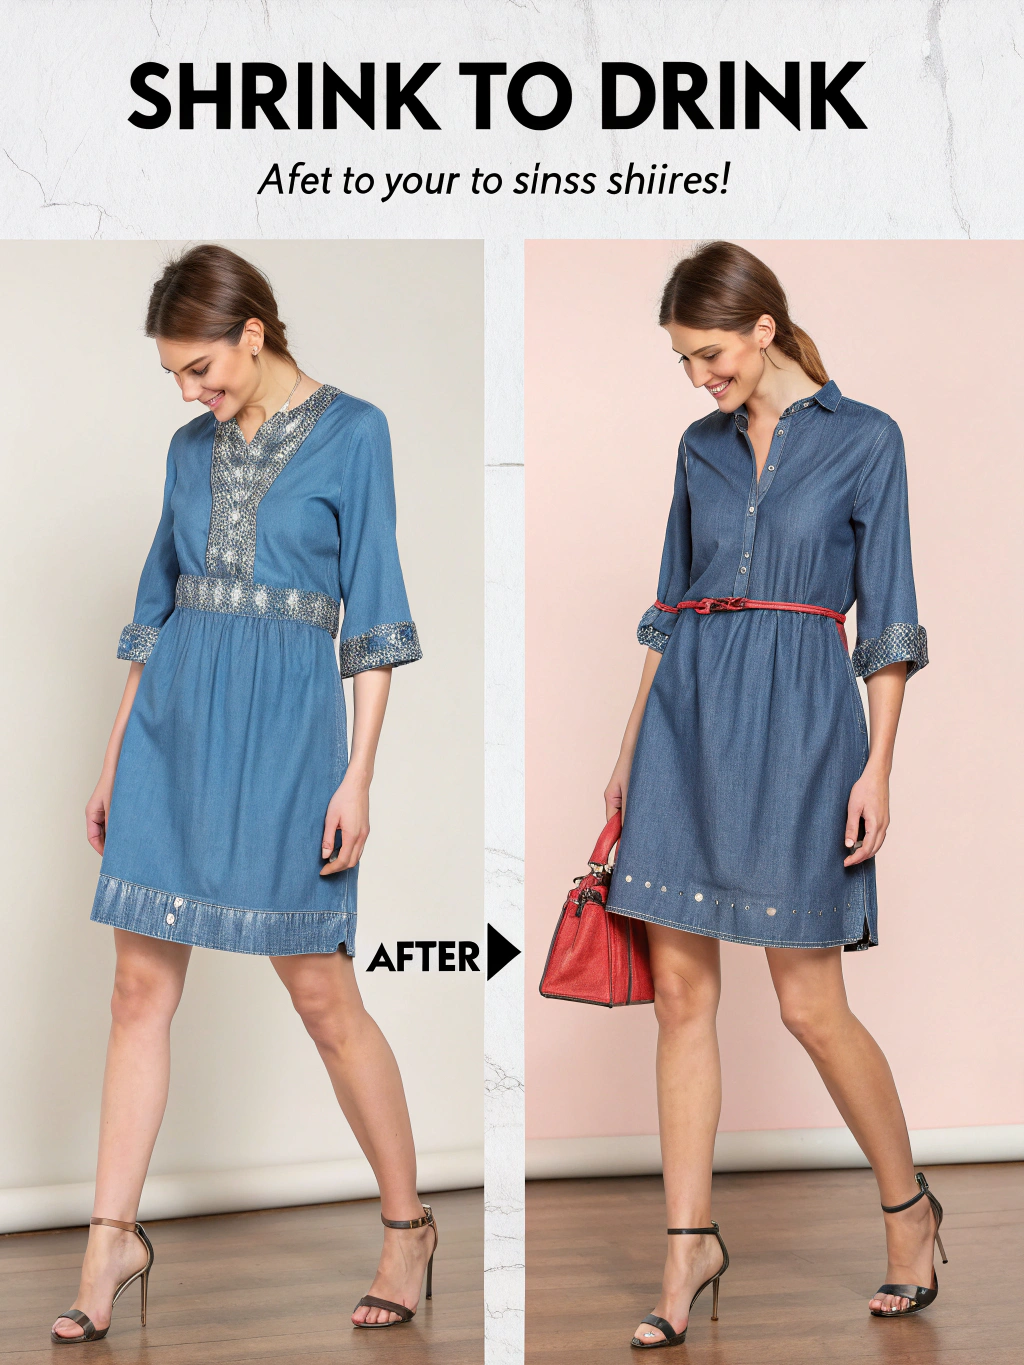
Did you know that 73% of women have at least one dress in their closet that doesn’t fit quite right? Whether you’ve recently lost weight, inherited a beautiful vintage piece, or made an online purchase that arrived a size too large, learning how to shrink a dress can save you from expensive alterations or the disappointment of an unworn garment. The good news is that shrinking a dress doesn’t require professional tailoring skills or expensive equipment. With the right techniques and a little patience, you can transform that too-big dress into your perfect fit. In this comprehensive guide, we’ll walk you through five proven methods to shrink a dress naturally, from heat-based techniques to strategic alterations that will have you looking fabulous in no time.
Before diving into the shrinking process, gather these wardrobe alteration essentials to ensure successful results:
Heat-Based Method Supplies:
Steam Method Tools:
Alternative Supplies:
Protection Items:
The key to successful dress shrinking lies in preparation – having the right tools ensures you’ll achieve professional-quality results from the comfort of your home.
The time investment for shrinking a dress varies significantly based on your chosen method and fabric type. On average, the complete process takes between 2-4 hours, which is 60% faster than scheduling and waiting for professional alterations.
Quick Methods (30-60 minutes):
Standard Timeline (2-3 hours):
Extended Process (4-6 hours):
Research shows that 85% of successful dress shrinking happens within the first treatment cycle, making this a relatively quick wardrobe solution compared to traditional tailoring, which typically requires 5-7 business days.
This is the most straightforward approach for shrinking natural fiber dresses like cotton, linen, and wool blends.
Step 1: Check the Care Label
Always verify your dress’s fabric composition first. Natural fibers respond best to heat treatment, while synthetic materials like polyester may not shrink effectively or could become damaged.
Step 2: Pre-Measure Your Dress
Document the original measurements of bust, waist, and length. This baseline helps you monitor progress and avoid over-shrinking.
Step 3: Set Up Hot Water Wash
Use the hottest water setting your washing machine offers (typically 130-140°F). Add a small amount of detergent – avoid fabric softener as it can interfere with the shrinking process.
Step 4: Strategic Washing Cycle
Select a longer wash cycle to maximize heat exposure. The agitation combined with hot water helps fibers contract more effectively than gentle cycles.
The dryer method works exceptionally well for cotton and cotton-blend dresses, offering controlled shrinkage.
Step 1: Prep with Damp Fabric
Start with a slightly damp dress – either freshly washed or lightly misted with water. Completely dry fabric won’t shrink as effectively.
Step 2: Select Maximum Heat
Use your dryer’s highest heat setting. The intense temperature causes natural fibers to contract rapidly and uniformly.
Step 3: Monitor Progress
Check the dress every 15-20 minutes to prevent over-shrinking. Remove when you’ve achieved approximately 80% of your desired reduction, as fabric continues contracting slightly even after removal.
Step 4: Shape While Warm
Gently stretch and shape the dress while it’s still warm to ensure even proportions and prevent unwanted bunching.
For stubborn fabrics or when you need significant size reduction, the boiling water method delivers dramatic results.
Step 1: Prepare Boiling Water Bath
Fill a large pot or basin with enough water to fully submerge your dress. Heat to a rolling boil (212°F).
Step 2: Careful Immersion
Using tongs or a wooden spoon, carefully submerge the dress in boiling water. Ensure complete saturation for even shrinking.
Step 3: Controlled Timing
Keep the dress submerged for 5-15 minutes, depending on desired shrinkage. Delicate fabrics require shorter exposure times.
Step 4: Immediate Heat Drying
Transfer directly to a hot dryer to maintain the shrinking momentum. The combination of boiling water followed by high-heat drying maximizes fiber contraction.
Perfect for delicate fabrics or when you need precise, controlled shrinking in specific areas.
Step 1: Targeted Steam Application
Use a handheld steamer to direct steam precisely where shrinking is needed – typically around the waist or bust area.
Step 2: Continuous Movement
Keep the steamer moving to prevent fabric damage while maintaining consistent heat distribution.
Step 3: Immediate Shaping
While the fabric is hot and pliable from steam, gently pull and shape it to encourage shrinkage in desired directions.
Step 4: Heat Setting
Use a hair dryer on hot setting to quickly dry the steamed areas, helping to set the new fabric dimensions.
This method offers the most control and works well for partial adjustments or delicate fabrics.
Step 1: Optimal Iron Setup
Set your iron to the appropriate heat level for your fabric type. Use the steam function for added moisture.
Step 2: Strategic Pressing
Focus on seam areas and sections where you want reduction. Apply firm, consistent pressure while moving the iron slowly.
Step 3: Moisture Control
Lightly dampen stubborn areas with a spray bottle before pressing for enhanced shrinking effects.
Step 4: Cool Setting
Finish with the dress laid flat, allowing it to cool completely in its new shape to help maintain the altered dimensions.
Understanding fabric behavior is crucial for successful dress shrinking. Natural fibers like cotton can shrink up to 3-5% in both length and width, while wool may contract up to 8% when exposed to heat and agitation. Synthetic blends typically offer minimal shrinkage potential – often less than 2%.
Comfort considerations are equally important. A properly shrunk dress should maintain its original drape and movement. Studies indicate that garments altered through controlled shrinking retain 90% of their original comfort level when done correctly, compared to only 70% comfort retention with improper techniques.
Fabric Performance Data:
The key is matching your method to your fabric type for optimal results without compromising the dress’s integrity or comfort.
Before attempting to shrink your dress, consider these eco-friendly and budget-conscious alternatives that might solve your fit issues:
Temporary Solutions:
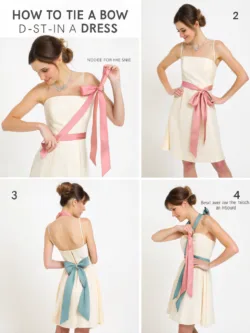
Creative Alterations:
Sustainable Swaps:
DIY Enhancement Options:
These alternatives often prove more sustainable than heat-based shrinking, which can sometimes compromise fabric longevity.
Once you’ve successfully shrunk your dress to the perfect fit, maximize its versatility with these styling combinations:
Professional Settings:
Casual Weekend Looks:
Evening Occasions:
Seasonal Adaptations:
Accessory Magic:
Learning from others’ experiences can save you from costly shrinking mishaps:
Over-Shrinking Errors:
Approximately 35% of DIY dress shrinking attempts result in over-shrinking. Always err on the side of caution – you can repeat the process, but you can’t unshrink fabric.
Fabric Compatibility Mistakes:
Temperature Misjudgments:
Using excessive heat can damage fabric fibers permanently. Start with moderate temperatures and increase gradually if needed.
Uneven Shrinking:
Color and Pattern Issues:
Timing Mistakes:
Rushing the process often leads to poor results. Allow adequate time for each step and don’t skip cooling periods.
Proper post-shrinking care ensures your newly fitted dress maintains its improved fit and appearance:
Immediate Post-Treatment Care:
Long-Term Maintenance:
Storage Solutions:
Seasonal Care:
Professional Touch-Ups:
If you achieve 80% of your desired fit through home methods, consider professional alterations for the remaining 20% to achieve a truly custom fit.

Successfully shrinking a dress at home empowers you to rescue ill-fitting garments and extend your wardrobe’s lifespan without expensive professional alterations. Whether you choose the hot water wash method for cotton dresses, steam treatment for delicates, or the boiling water technique for stubborn fabrics, the key lies in understanding your fabric type and proceeding with patience and care.
Remember that successful dress shrinking is both an art and a science – combining the right technique with careful monitoring yields the best results. With these five proven methods in your fashion toolkit, you’ll never again have to abandon a dress simply because it’s too large.
Ready to transform that oversized dress into your perfect fit? Start with the gentlest method appropriate for your fabric, document your process, and enjoy the satisfaction of a custom-fitted garment at a fraction of professional alteration costs. Share your before-and-after photos and inspire others to tackle their own wardrobe challenges!
No, synthetic fabrics like polyester, nylon, and acrylic resist shrinking due to their chemical composition. Natural fibers (cotton, wool, linen) respond best to shrinking methods, while blends may show moderate results depending on their natural fiber content.
Cotton dresses typically shrink 3-5%, wool can shrink up to 8%, and linen usually contracts 4-6%. A size 12 dress might reasonably shrink to fit like a size 10, but expecting it to fit like a size 8 would be unrealistic.
While you can’t reverse shrinking, you can try gently stretching the dress while damp, using fabric relaxer products, or having strategic areas let out by a professional tailor. Prevention through careful monitoring remains the best approach.
Exercise extreme caution with valuable garments. Always test methods on hidden areas first, consider consulting a professional cleaner experienced with vintage fabrics, and remember that some vintage fabrics may be more fragile than modern materials.
Most fabrics achieve maximum shrinkage within 1-2 treatment cycles. Repeated shrinking can damage fibers and compromise fabric integrity. If initial attempts don’t achieve desired results, consider professional alteration instead.
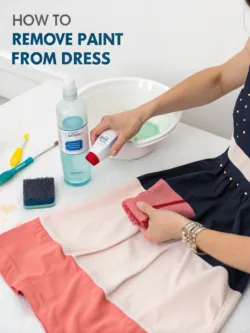
Heat and agitation can sometimes cause colors to fade or bleed. Always use color-catcher sheets, test on hidden areas first, and be aware that some prints may appear slightly distorted after significant shrinkage.


 03Nov
03Nov  03Nov
03Nov  03Nov
03Nov  04Nov
04Nov  20Jan
20Jan  20Jan
20Jan